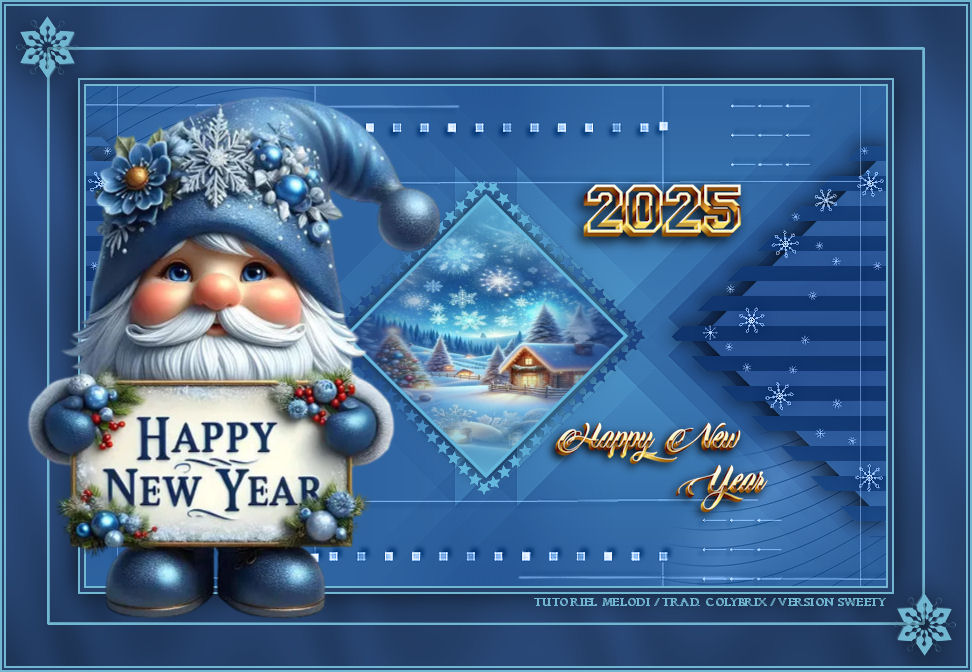
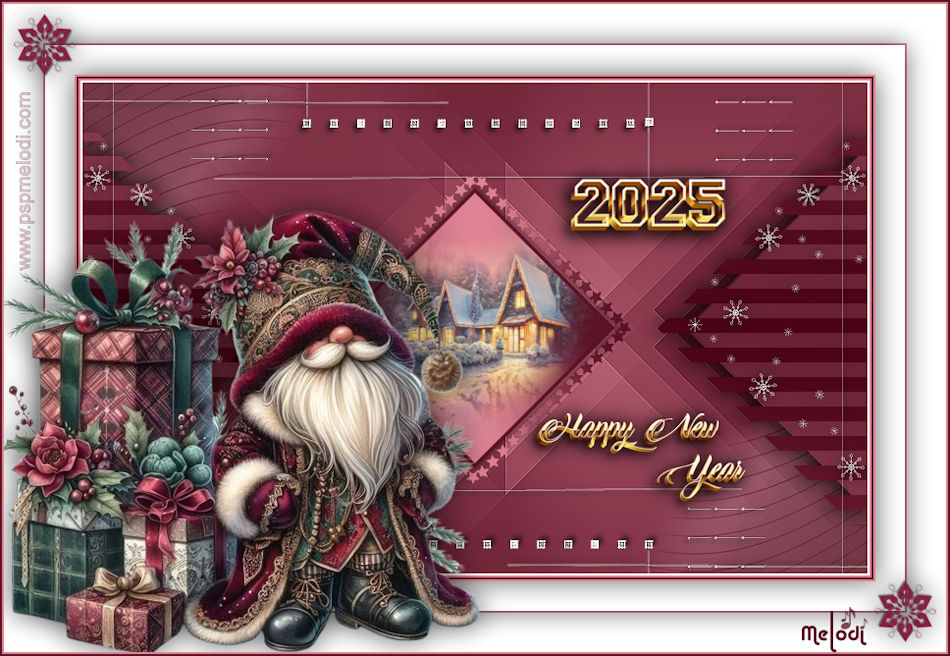
The colors, layer density and blending mode are for the materials of this lesson. If you use different material, just take a look at what is best for you…
Before Open psp Copy the Selection file in the Selections Folder of Psp
Download materials by clicking below
Merci Colybrix pour la traduction française
Obrigado pela tradução para português Vera Mendes
Grazie per la traduzione italiana Pinuccia
Bedankt voor de Nederlandse vertaling Lisette
Danke Inge Lore für die deutsche Übersetzung
Ifyou’reready, let’s start
PLUGİNS:
Plugins>Mehdi -WavyLab 1.1.
Simple – Pizza SliceMirror
Toadies- WhatAreYou?
Caroline AndSensibitity – CS- HLines
MATERİALS:
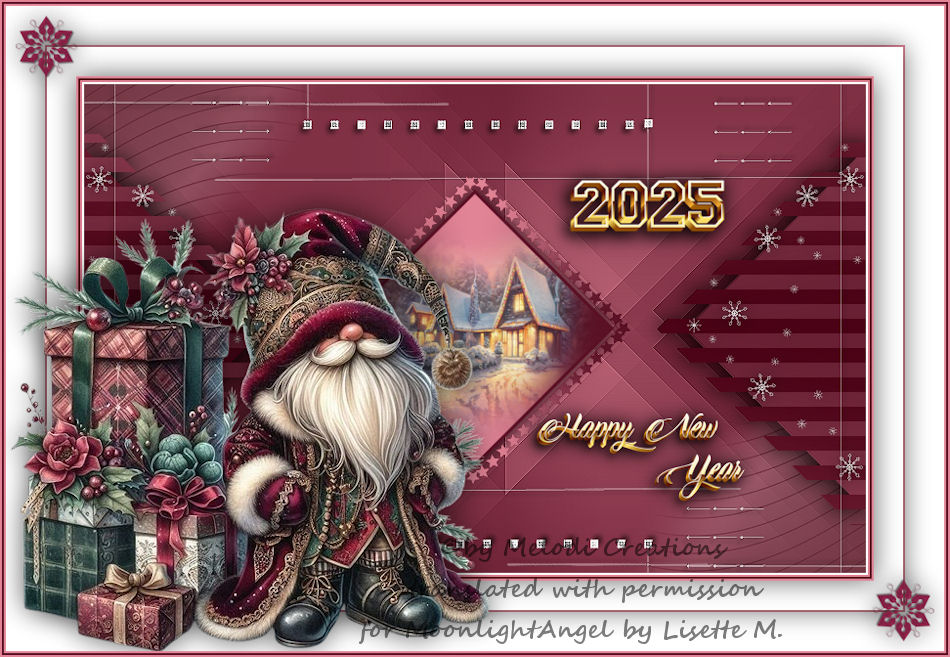
Gnome Tube Pinterest my tube
landscape tube- paysghiver20-colybrix
Seyranca Deco
Decos Melodi
Needed Material
Select a light color for the foreground color and a dark color forthe background color from your tube.
My colors
Foreground color #e08495
Background color #5a1226


STEP 1
1 -File Open – New 800 x 500
2-Effects -Plugins – Mehdi – WavyLab 1.1Style Radial 2-0-0

3- Effects- Plugins –Simple – Pizza SliceMirror
4- Repeat the same process

5- Effects- Plugins –Toadies- WhatAreYou?

6- Effetcts- EdgeEffecet – Enhance

STEP 2
7- Selections>Load/Save Selection>Loadfrom Disk – Sel NY 1 Melo
8- Selection – Promote Selection to Layer
9- Selections – Select None
10-Effecs – Plugins –Caroline And Sensibility – CS- HLines – 15 – 5 – 15

11- Effets – 3D Effects – DropShadow V: 0 H: 0 O: 80 B: 30

STEP 3
12- Layers -New Raster Layer Raster 2
13- Selections>Load/Save Selection>Load from Disk – Sel NY-2 Melo
14- Flood Fill Tool / Background color
14- Selections -Modify Contrast 4 Pixel
15- Effects -Plugins – Mehdi – Wavy Lab 1.1 Style Radial 2-0-0 ( SAME SETTİNG )
16- Activate the landscape tube- paysghiver20-coly, Edit Copy
17- Edit, Paste into selection
Sellection None
18-Effets – 3D Effects – DropShadow V: 0 H: 0 O: 80 B: 30


STEP 4
19- Layers -New Raster Layer Raster 3
20- Selections>Load/Save Selection>Load from Disk – Sel NY-3
21- Effects -Plugins – Mehdi – Wavy Lab 1.1 Style Radial 2-0-0 ( SAME SETTİNG )
Select None
22- Merge- Merge Down ( Raster2)

STEP 5
23- Activate the bottom layer (Raster 1)
24- File Open Seyranca DECO-3
25- Edit Copy – Return to work -Edit, Paste as new Raster layer
(Do not carry)
26- Activate the top layer (Promoted Selection)
27- File Open – DECO NY 2025-1
28- Edit Copy – Return towork -Edit, Paste as new Raster layer 4
29- Tool, Select (K), Change the Position X (616) and Position Y ( 60) settings to the settings below

30- Effetcts- Edge Effecet – Enhance
31- Layers – Duplicate
32- Merge- MergeDown
33-Layers – Duplicate
34-Image -Mirror – Mirror Horizontal
35- Merge- Merge Down
36- Effets – 3D Effects – DropShadow V: 0 H: 0 O: 80 B: 30
Result

STEP 6
37- File Open – DECO NY 2025 -2
38- EditCopy – Return to work -Edit, Paste as new Raster layer 5
No need to carry
39- Effects –Edge Effects- Enhance
Result

Activate the top layer.( Raster 2)
40- File Open – DECO NY 2025 -3 – EditCopy – Return towork
41- Edit – Paste as new Raster layer 6
42- Activate Pick Tooland place it like this Position X 480 – Y 88
(Or move it wherever you want.)

43- Effets – 3D Effects – Drop Shadow V: 0 H: 0 O: 80 B: 30
44- File Open – DECO NY 2025 -4- Edit Copy – Return to work -Edit, Paste as new Raster layer 7
45- Activate Pick Tool and place it like this Position X 450 – Y 330
(You can move it wherever you want and change it to the color you want.)

46- Effets – 3D Effects – DropShadow V: 0 H: 0 O: 80 B: 30
STEP 8
47- Image / AddBorders
2 pxcolor #3
2 pxcolor #1
2 pxcolor #2
2 pxcolor #1
48- Selections / Select all
Image / Add borders
30 pxcolor #3
49- Effects / 3D Effects / Drop Shadow 0 / 0 / 60 / 40 / black
Selections/Select all
50- Image / Add Borders
2 pxcolor #1
40 pxcolor #3
51- Effects / 3D Effects / DropShadow / 0 / 0 / 60 / 40 / black
52- Selections – Select None
STEP 9
53- Activate Deco DECO NY 2025 -5
54- Edit-copy / Edit-paste as new layer
55- Activate Pick Tool and place it like this Position X 10 – Y 10

(You can change the color according to your work.)
56- Effects / Effects / 3D / Dropshadow / 0 / 0 / 60 /40 / black
57- Layer Duplicate
58- Image- Mirror – Mirror Horizontal
59- Image- Mirror – MirrorVertical
STEP 10
60- Activate the Gnome tube
61- Edit-copy / Edit-paste as new layer –Position left
62- Effects / 3D effects / Drop shadow of your choice / or 0 / 0 / 60 / 40 / black
63- Adjustment / Sharpness / Sharpness
64- Image / Add Borders
2 pxcolor #1
2 pxcolor #2
2 px of color #1
65- Sign your name. Merge- Merge All
66- Resize to 950 pixels
67- Save as JPG
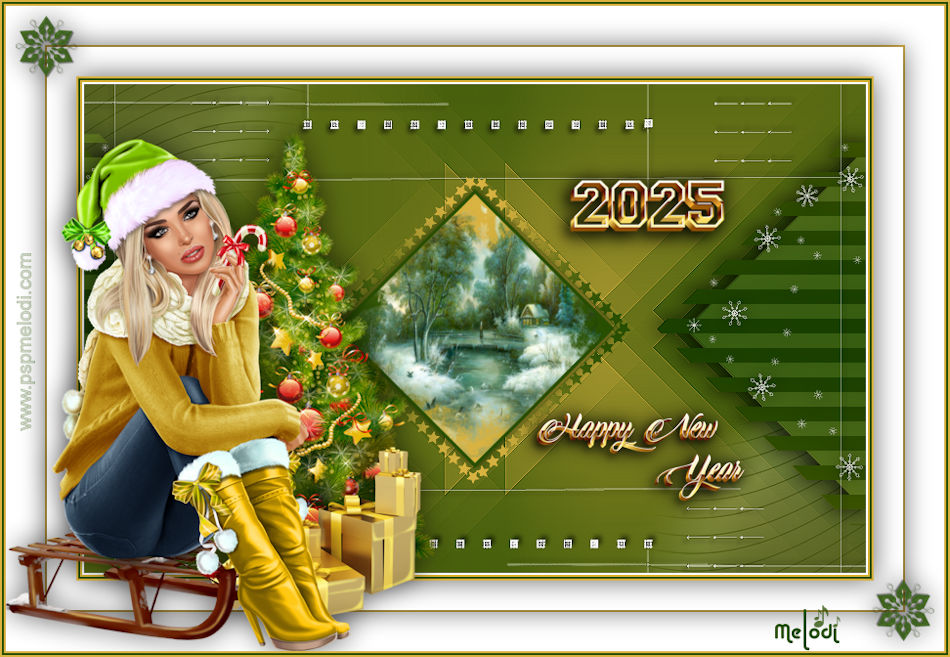
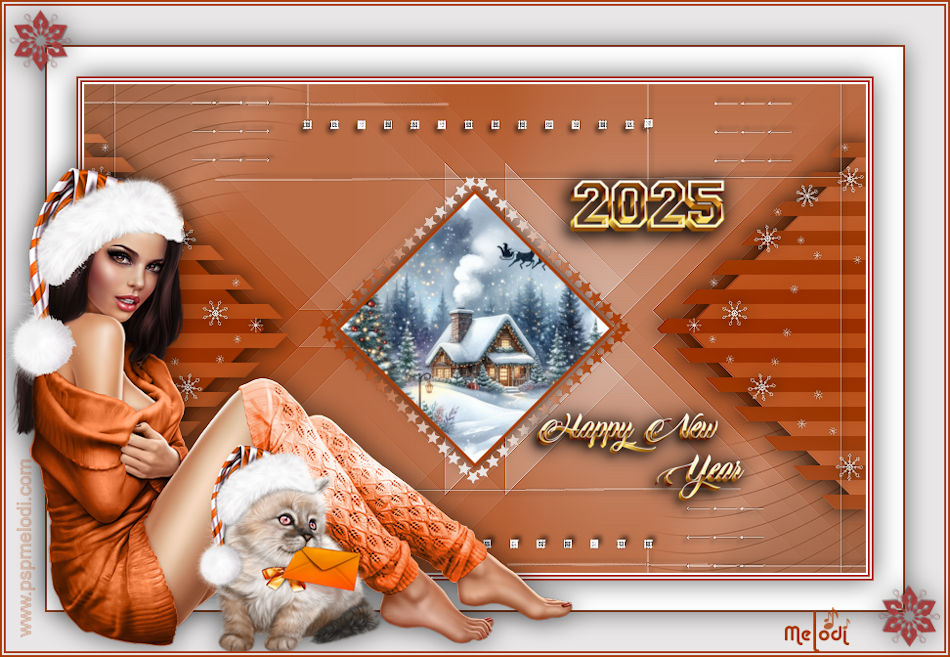
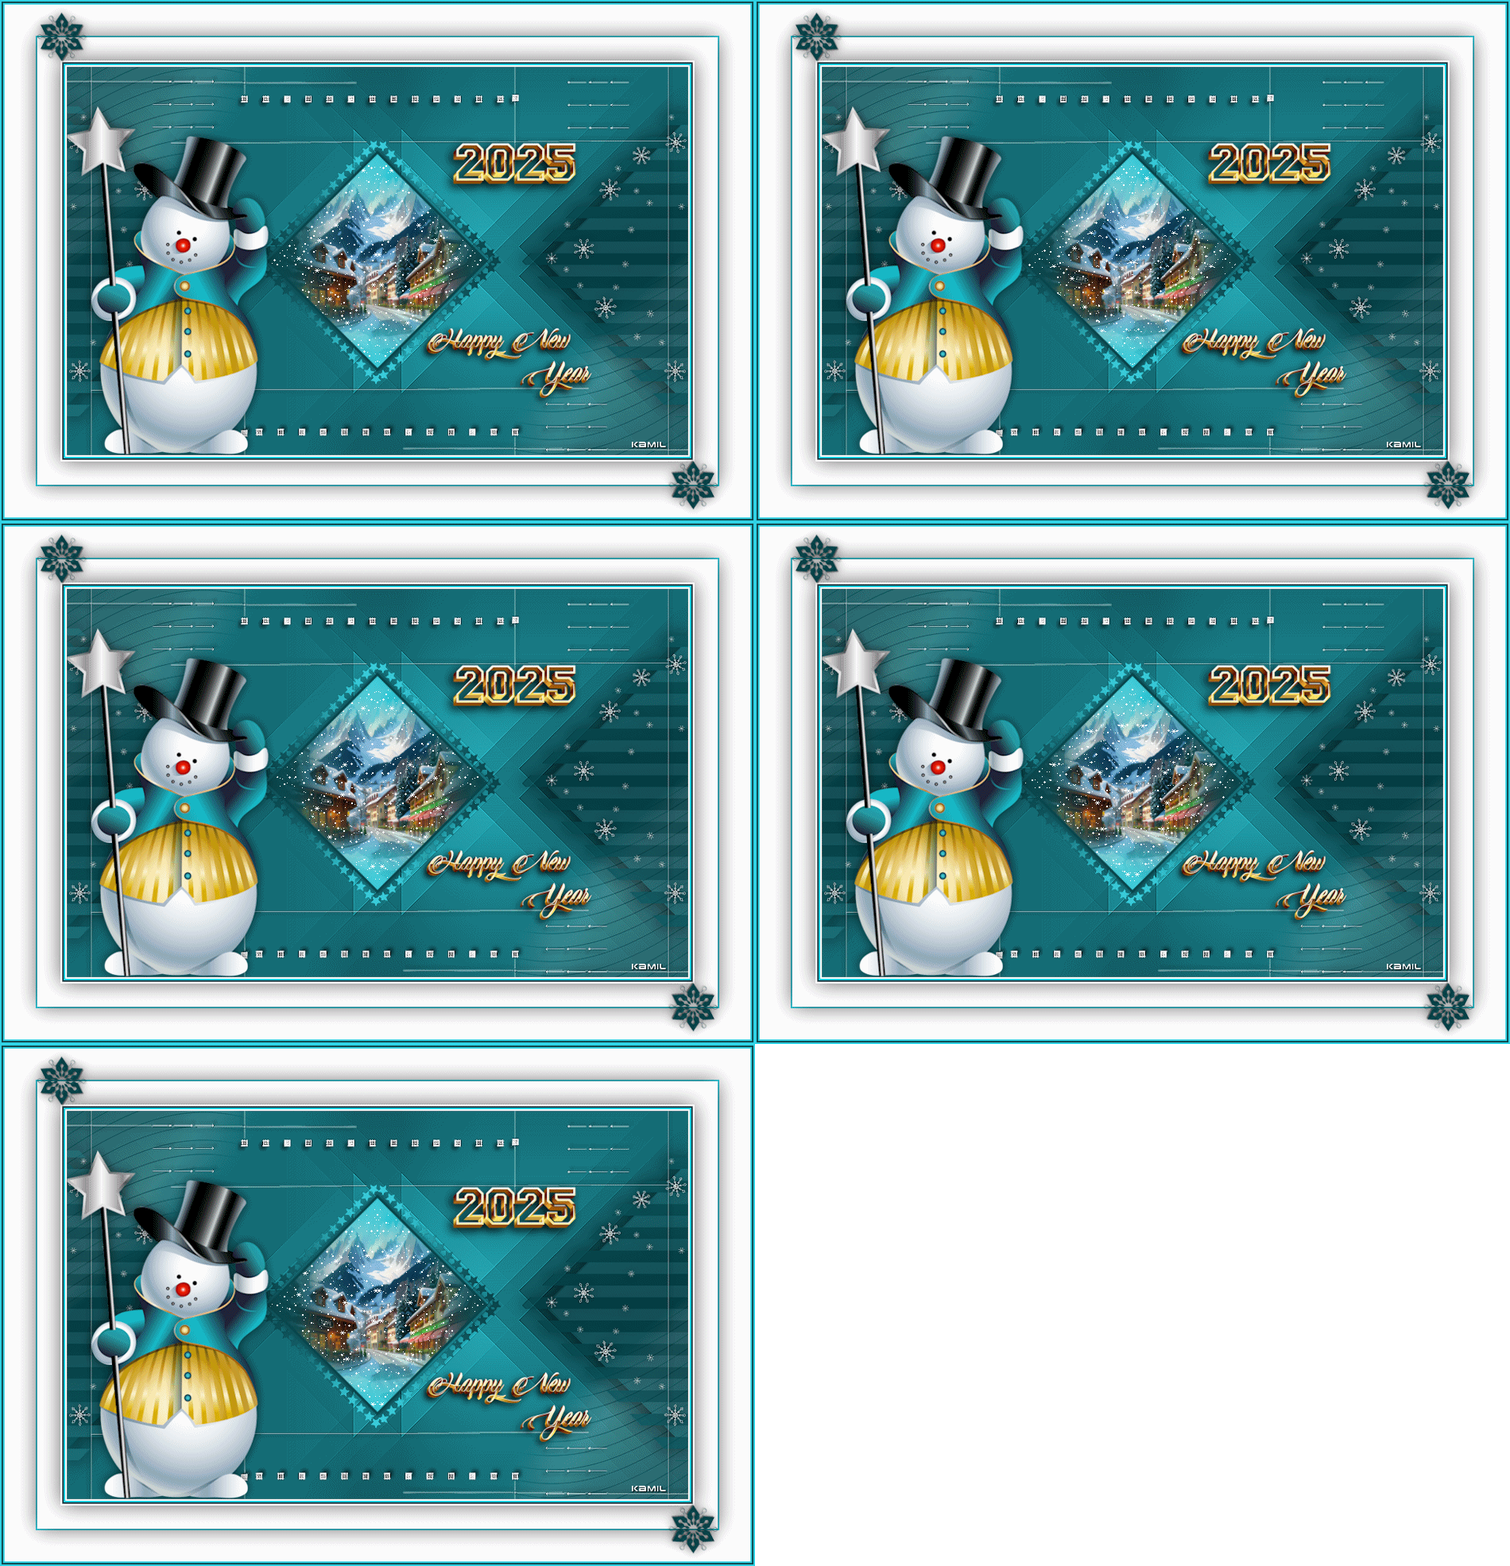
Thanks for the tests and versions Kamil
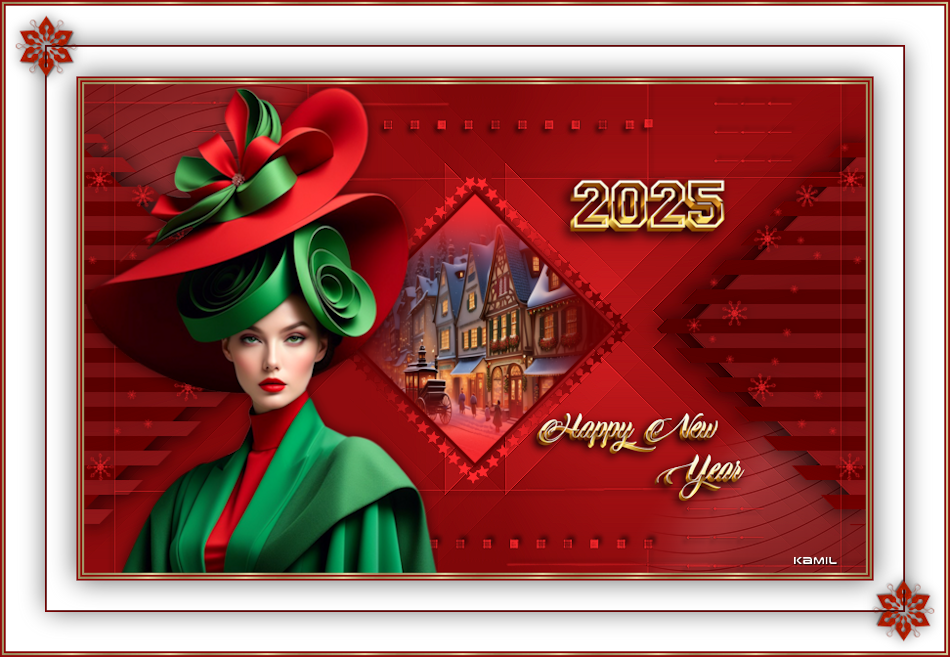
Thank you Colybrix
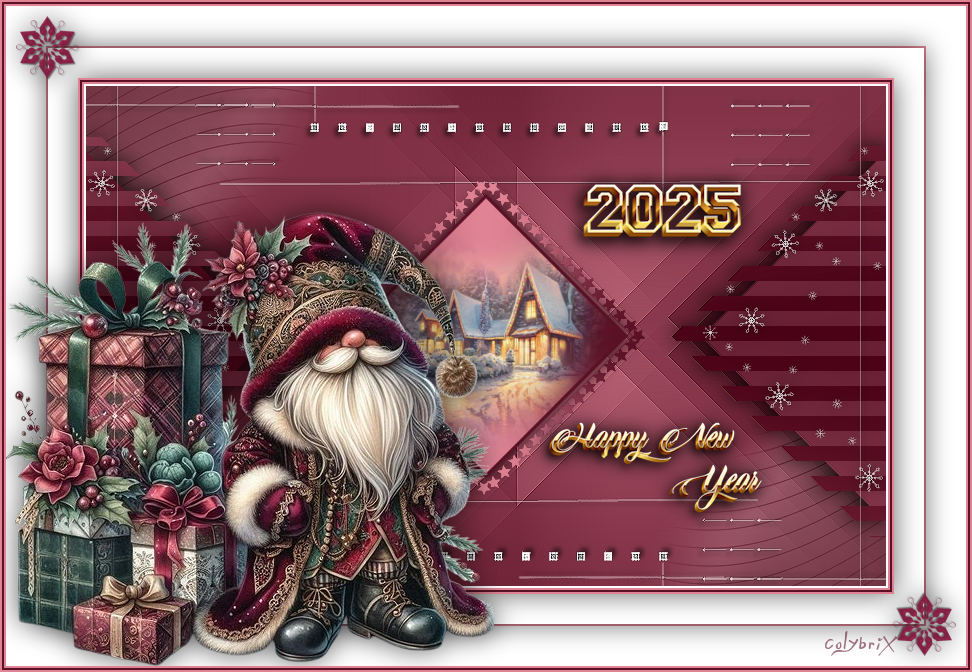
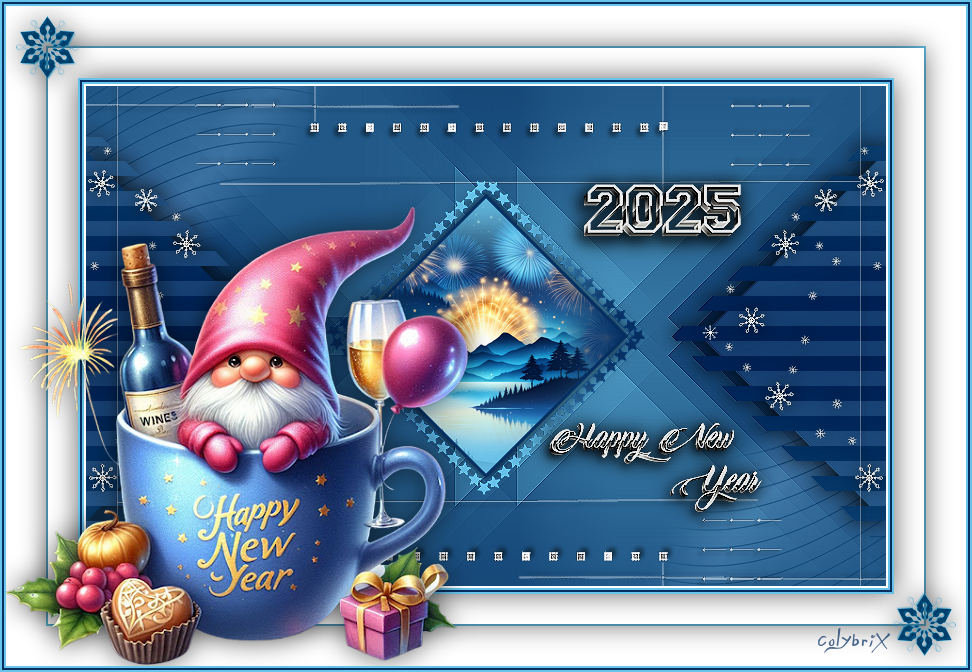
Thank you Pinuccia
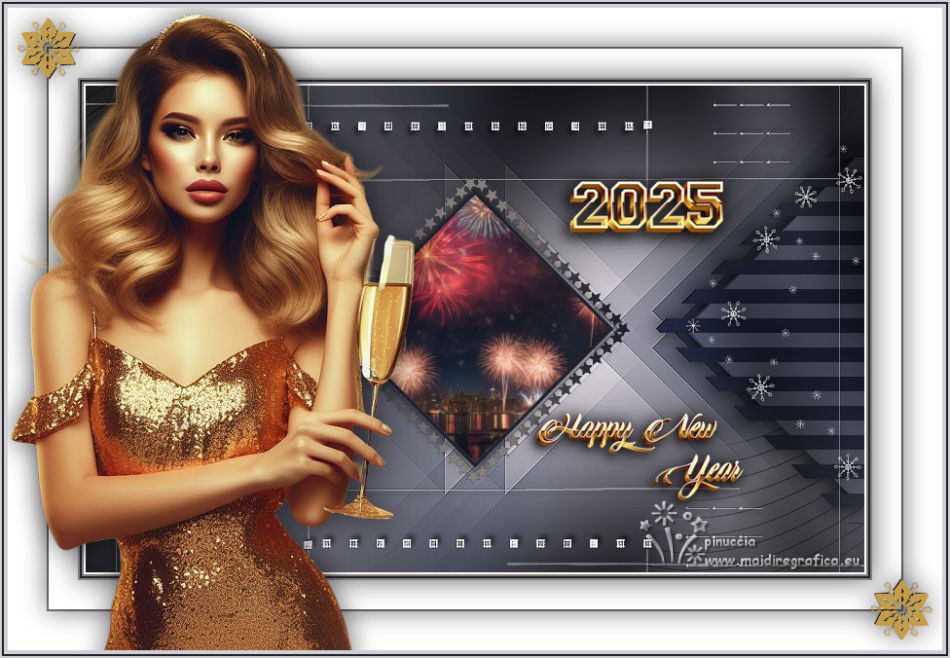
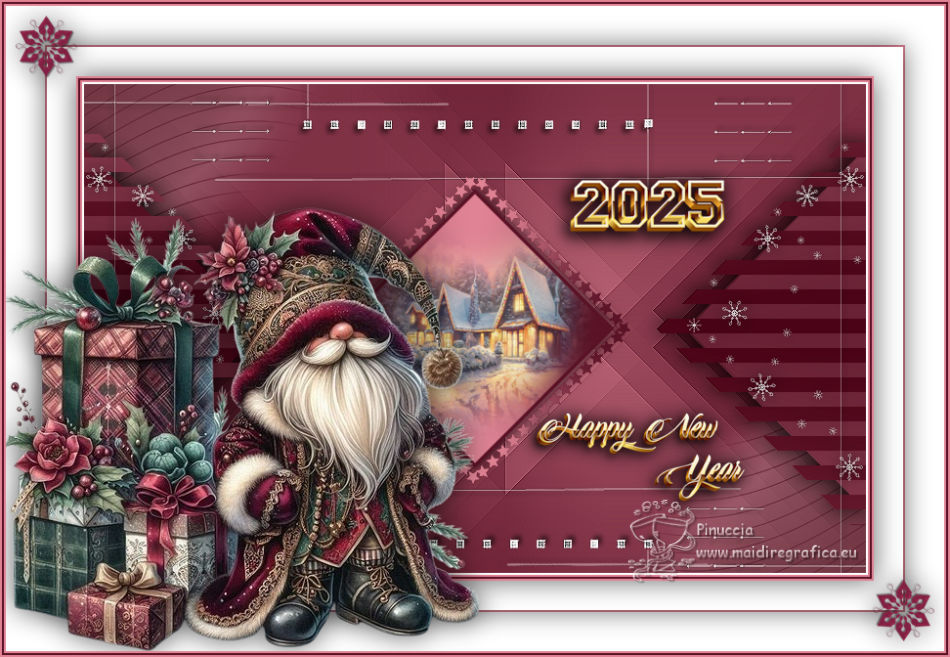
Thank you Vera
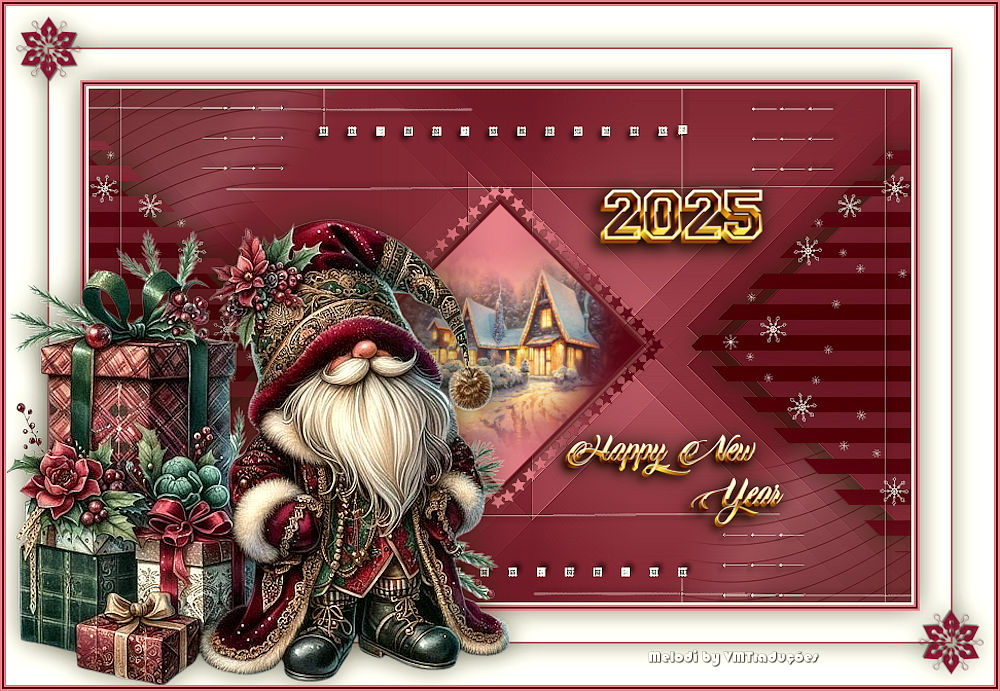
Thank You Lisette
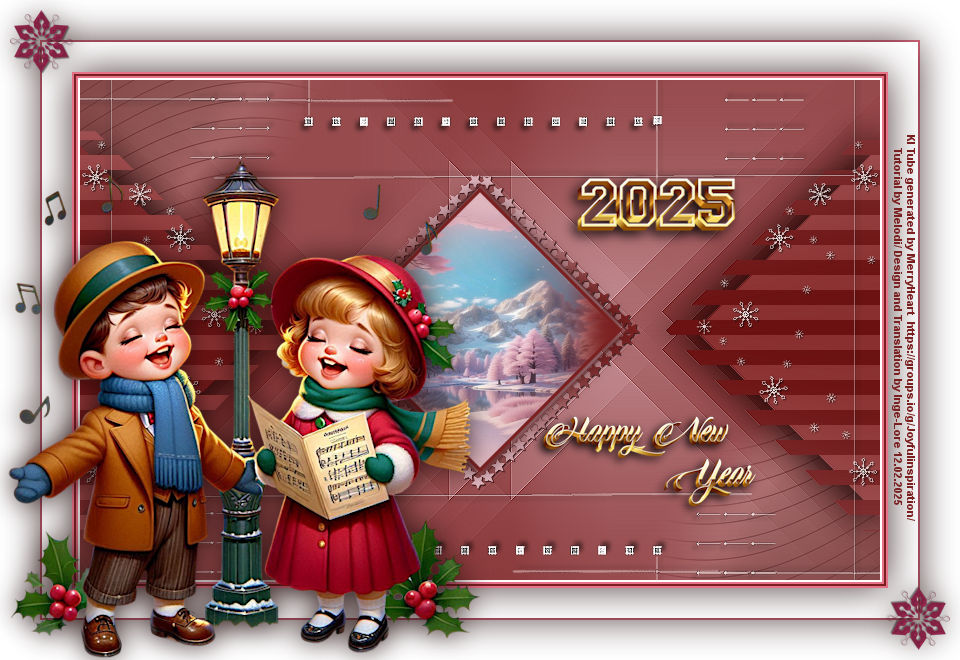
Thank you Inge Lore
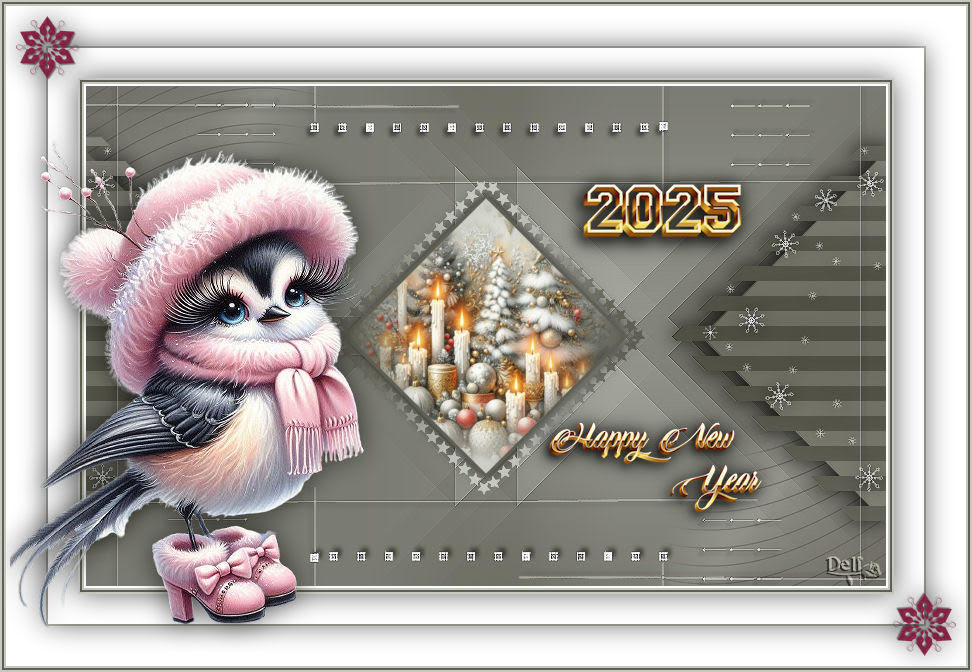
Thank you Delf
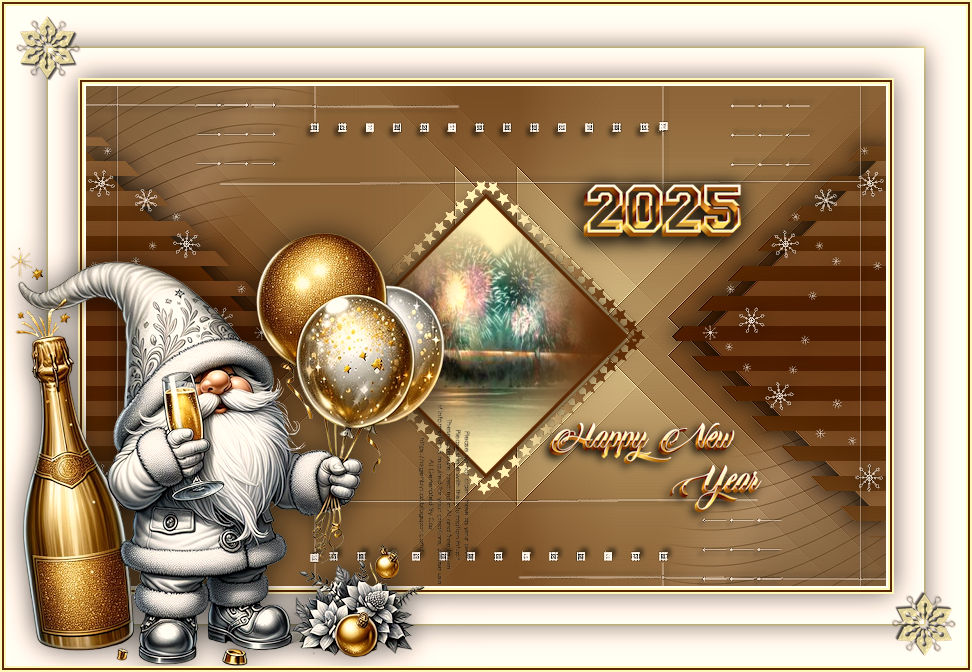
Thank you Gandi
Thank you Sue
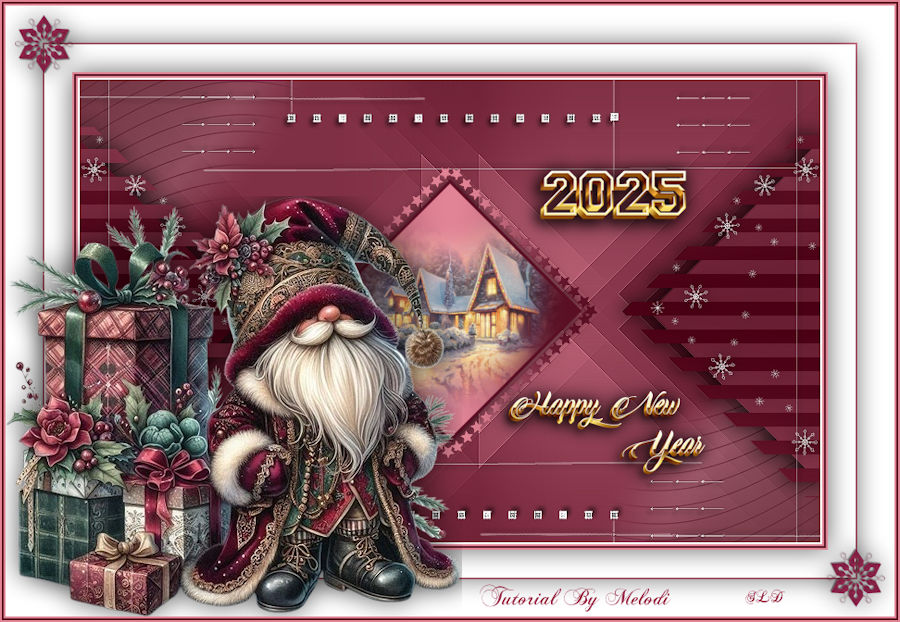
Thank you Irene
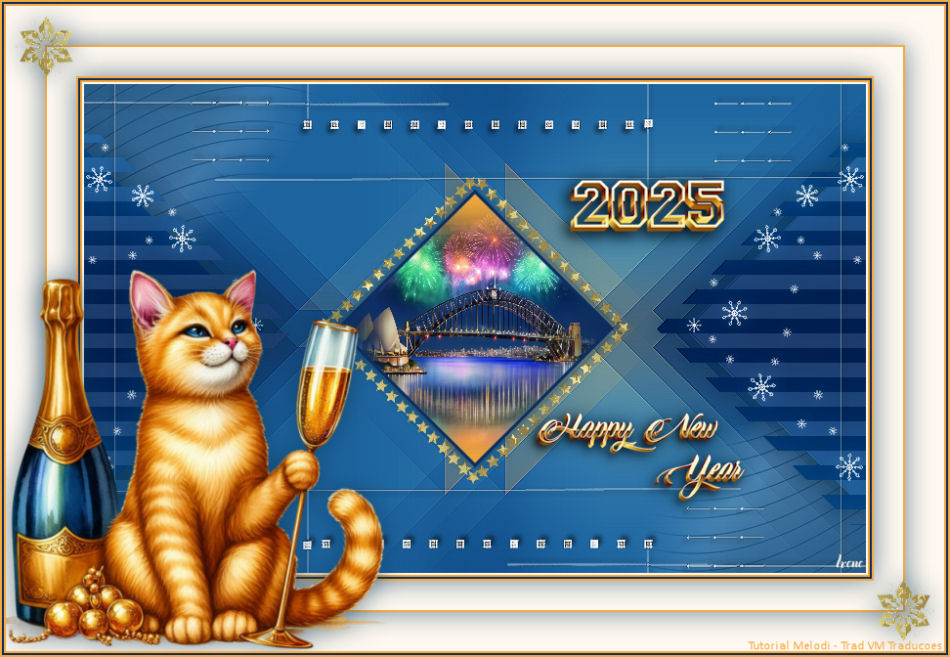
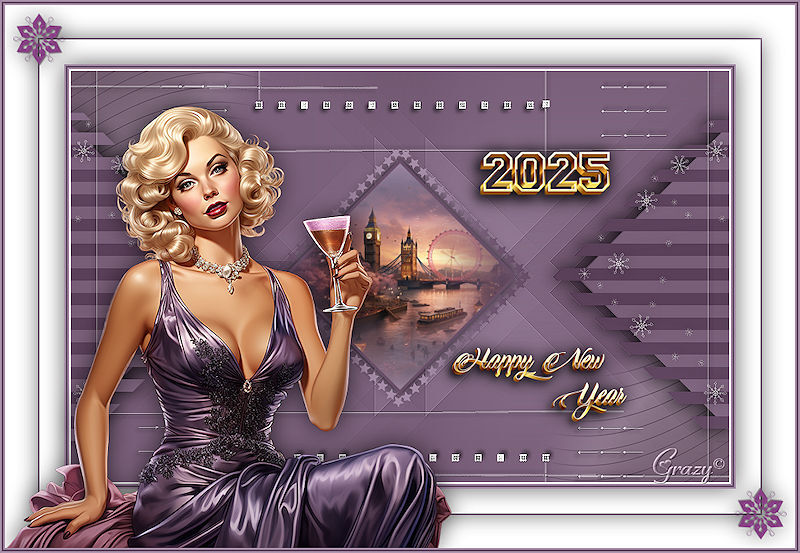
Thank you Grazy
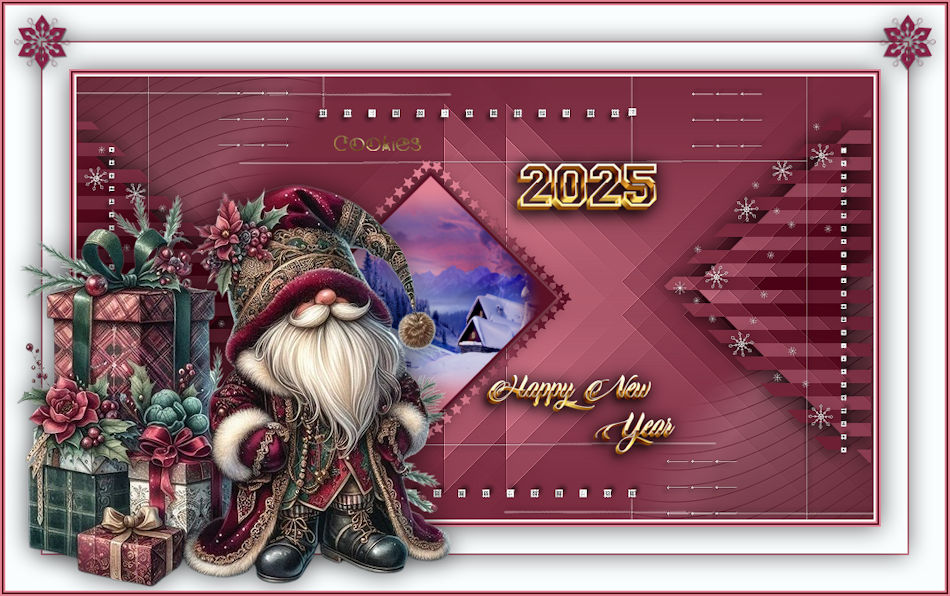
Thank you Cookies
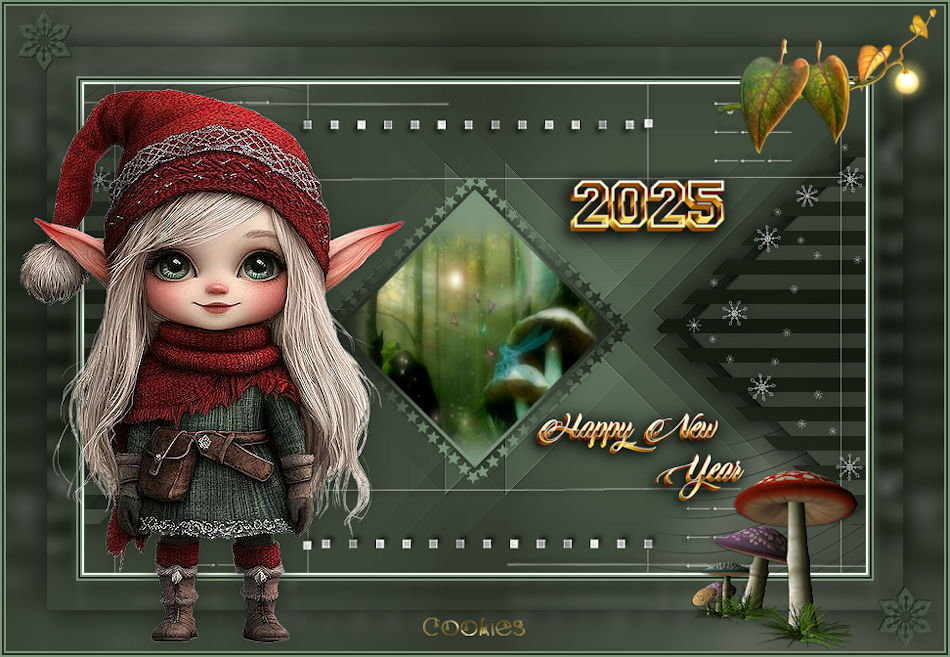
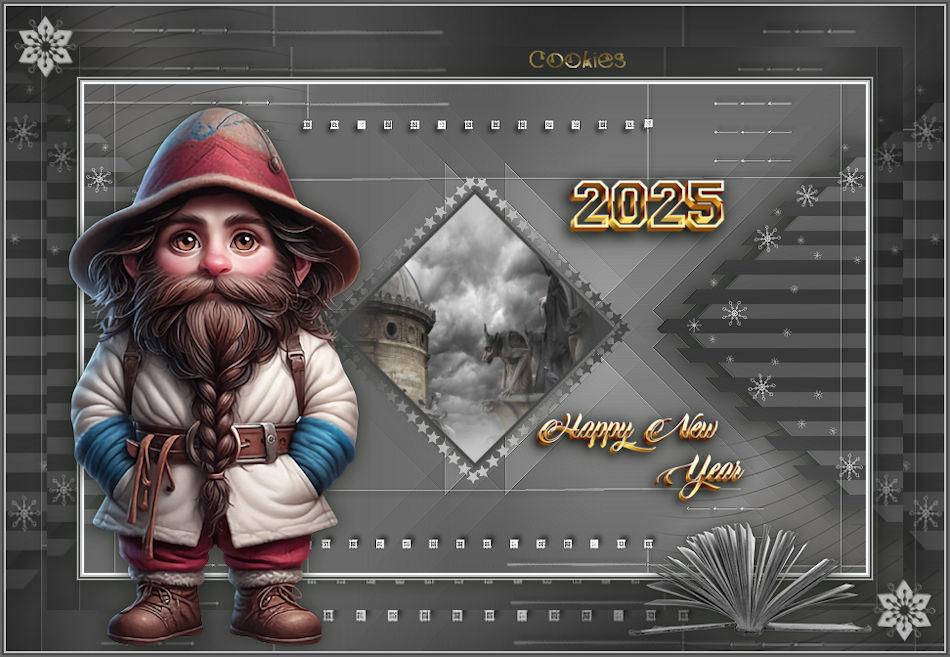
Thank you Violine
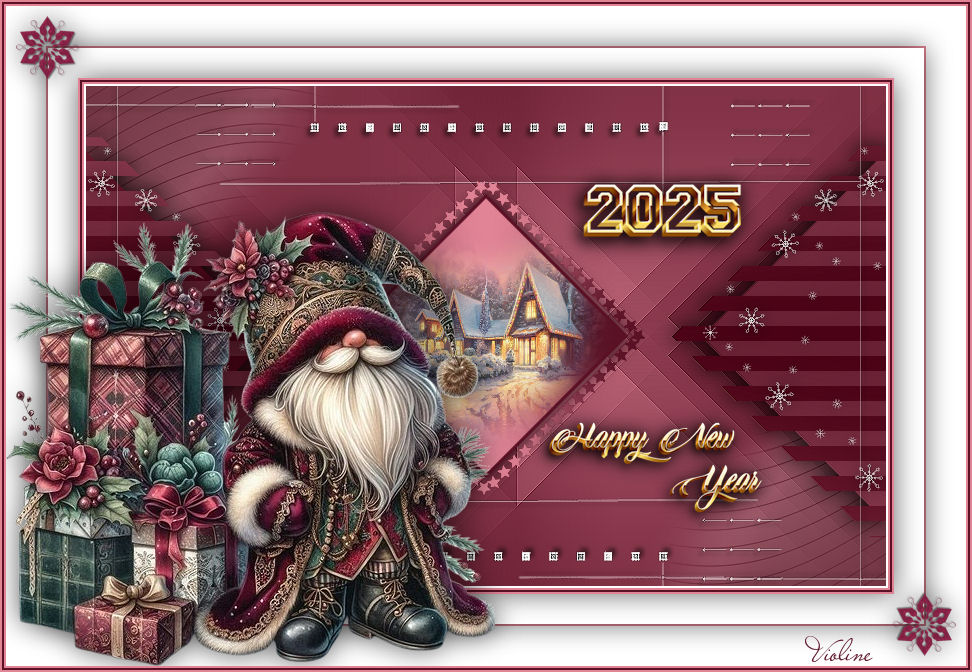
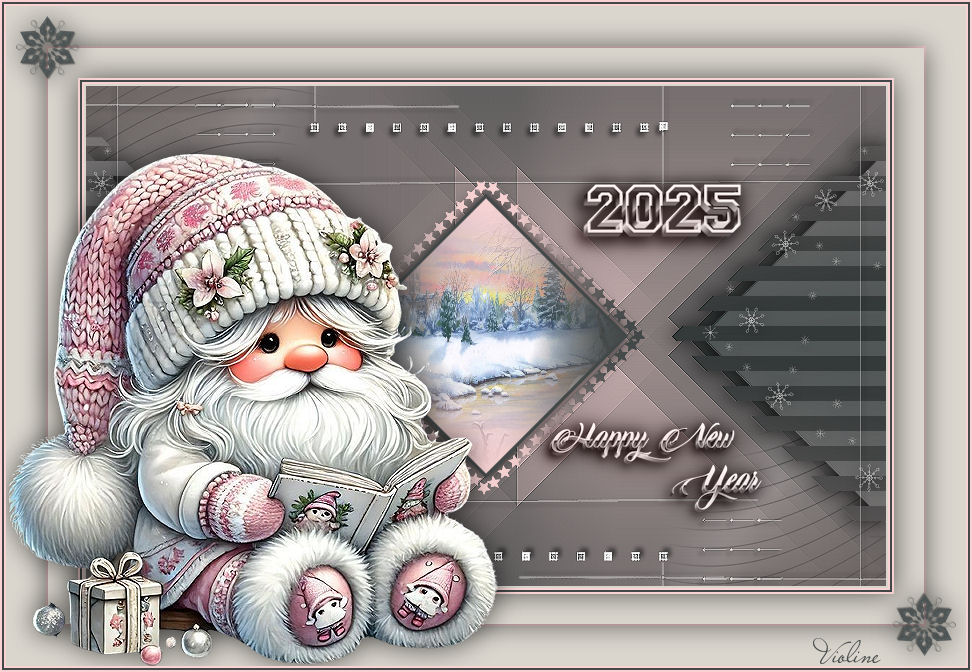
Thank you Fcreatvt
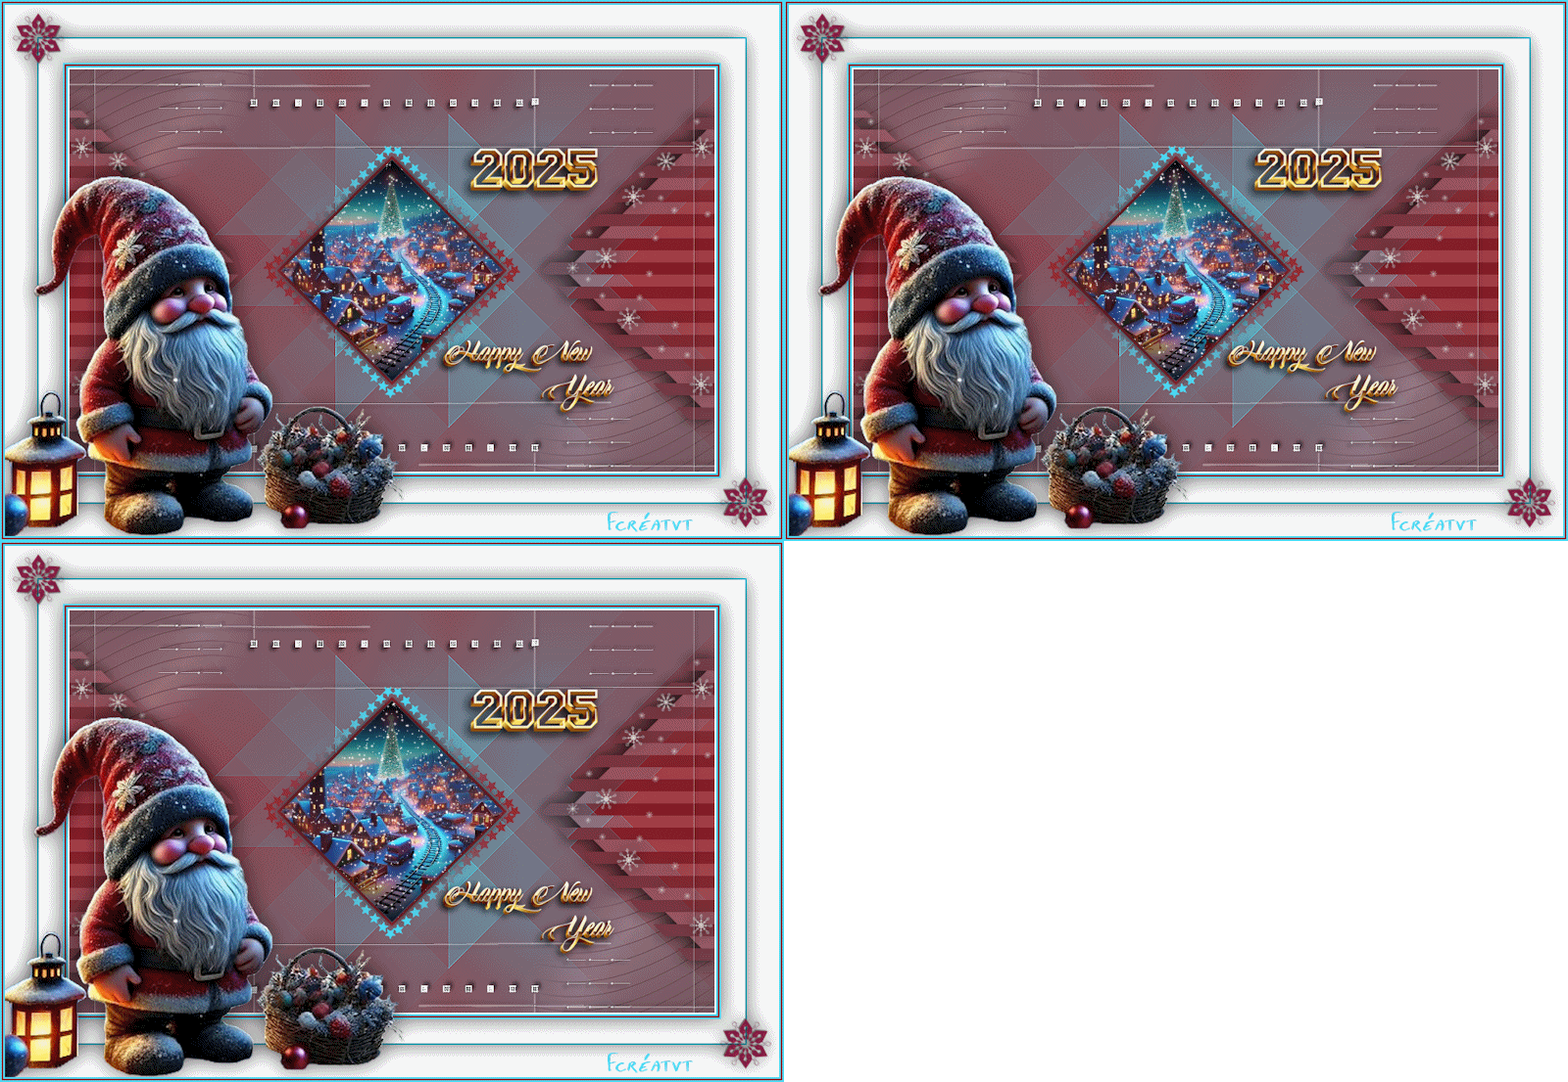
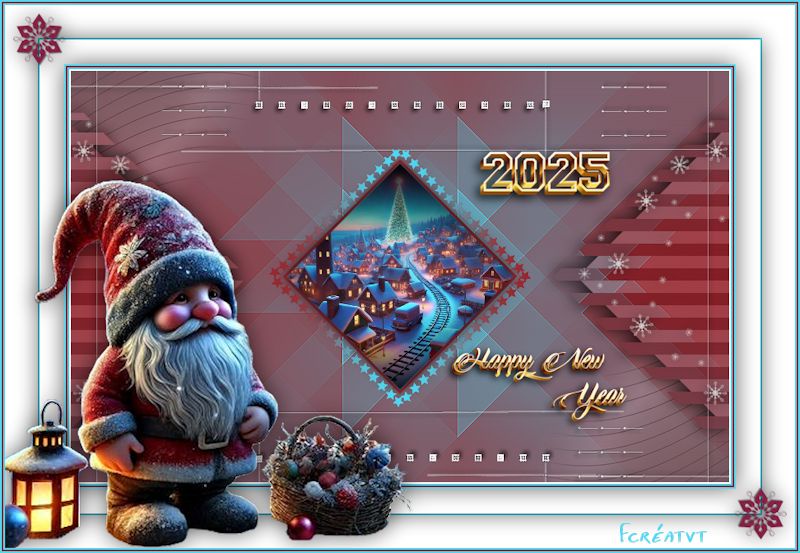
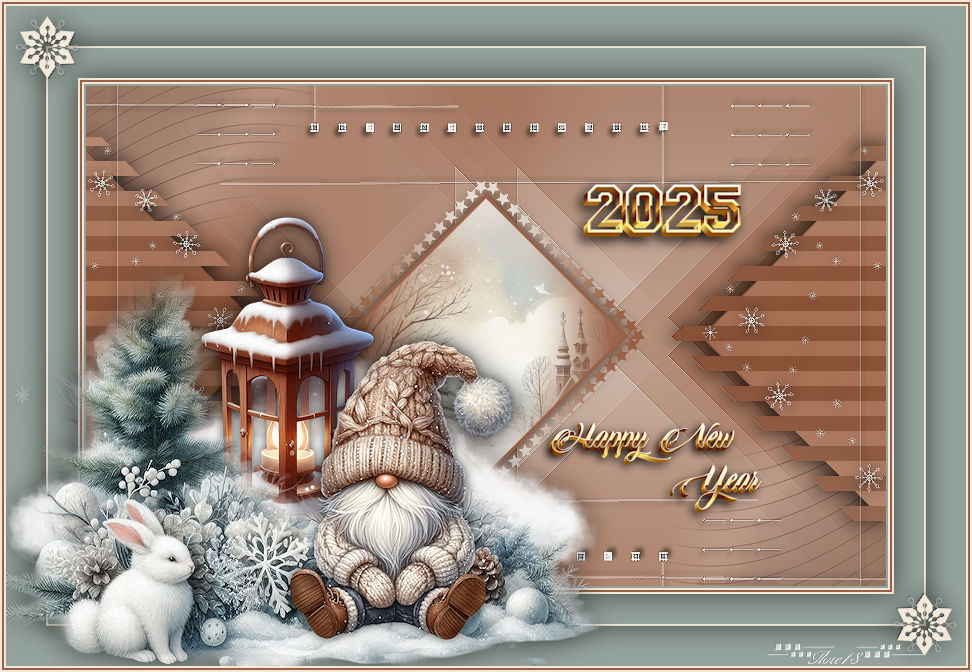
Thank you Flore18
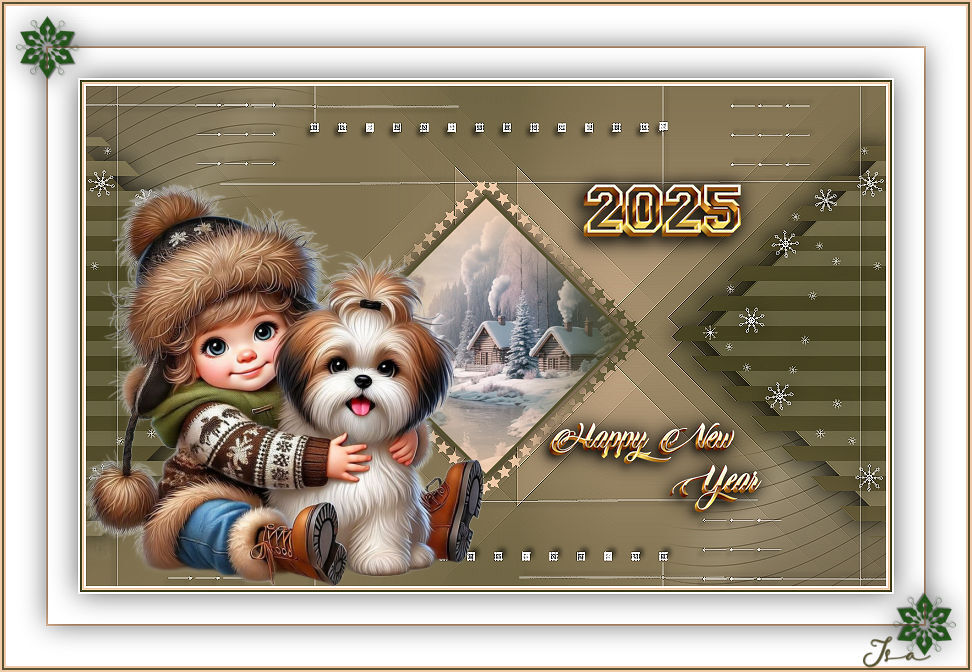
Thank you Isa
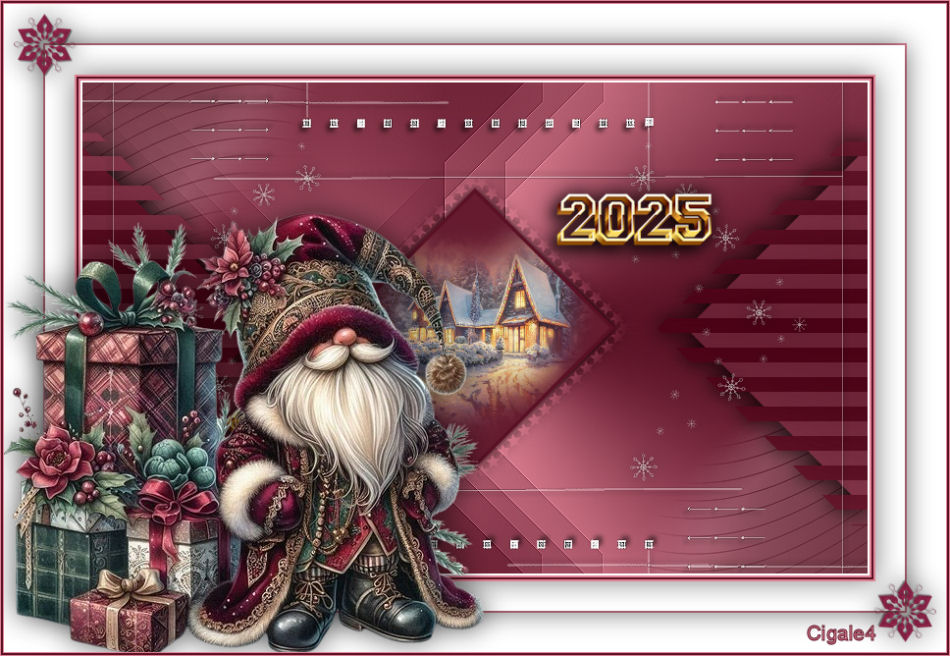
Thank you Cigale4
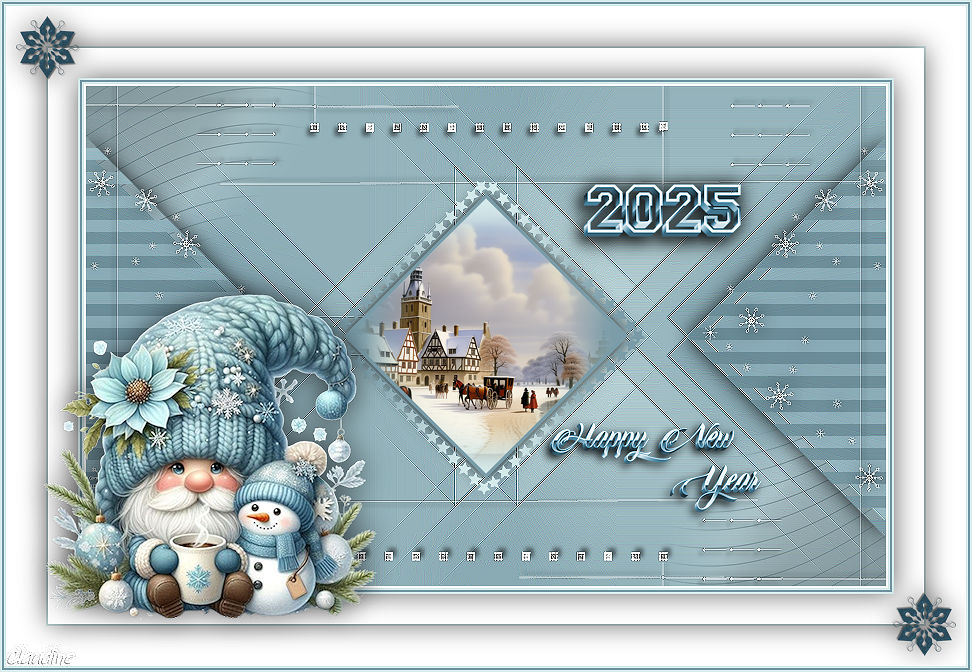
Thank you Claudine
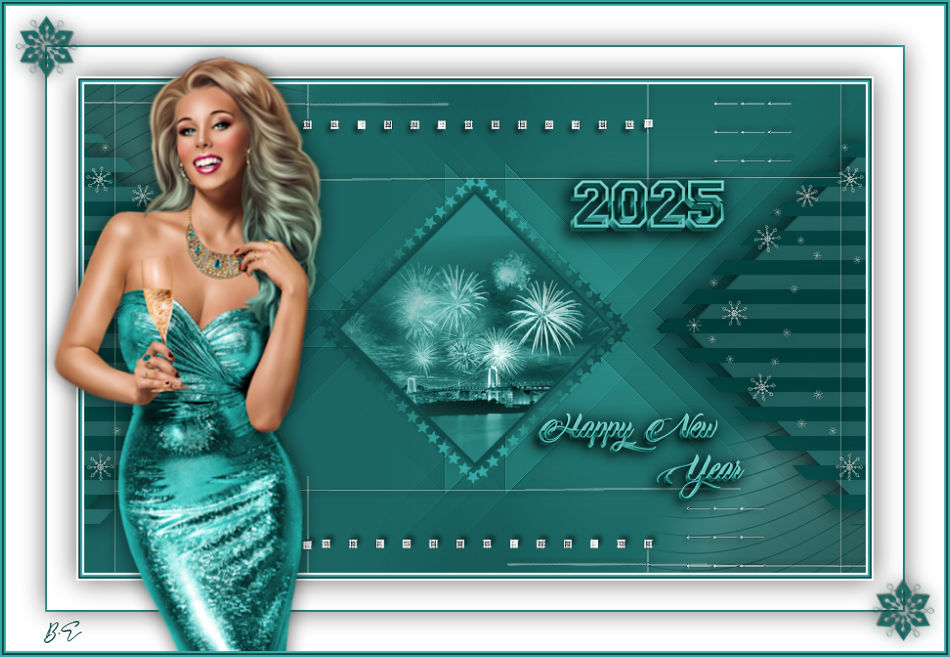
Thank you Boncz Ella
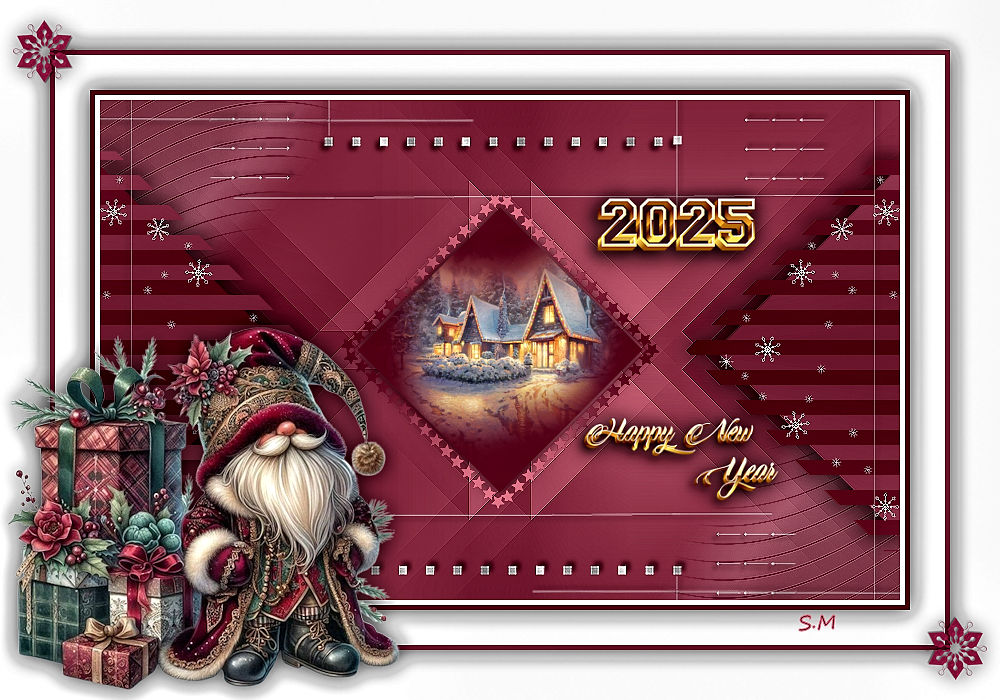
Thank you Марія Селезньова ( Sim PSP)
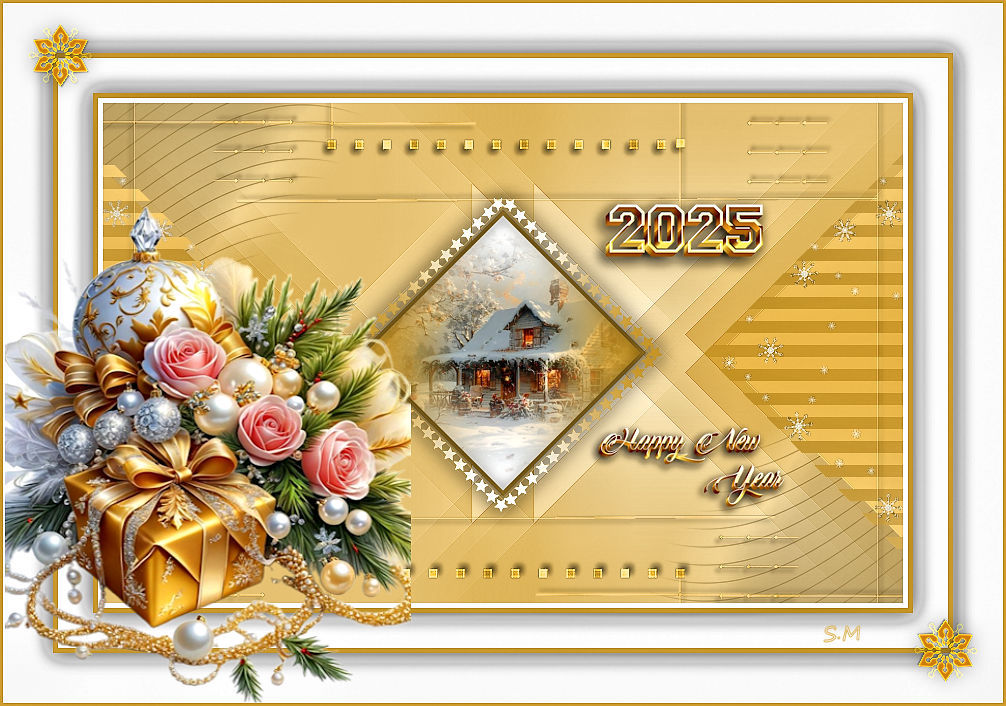
Thank you Merci Gon Romano
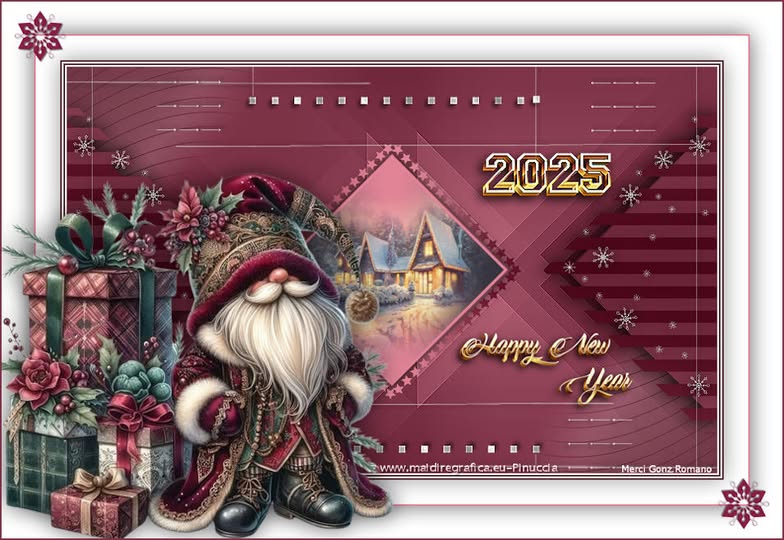
Thank you Mabel
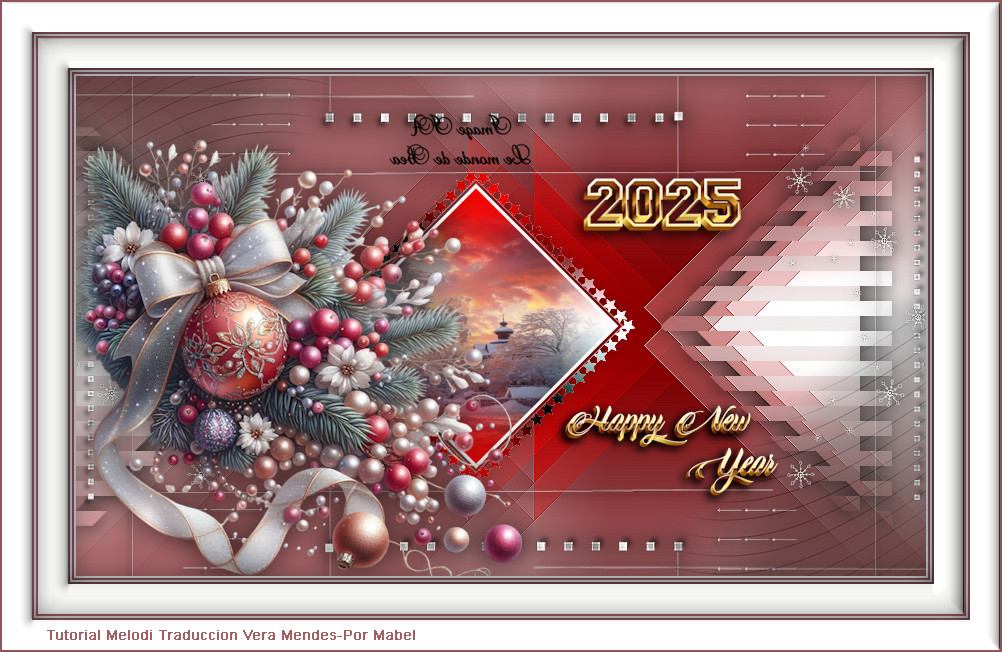
Thank you Denyse
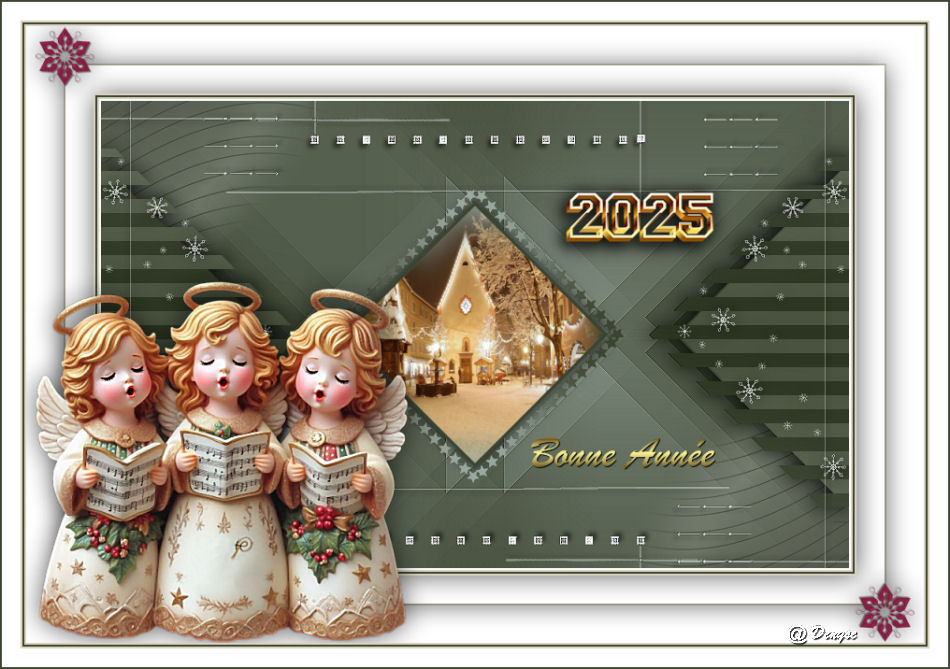
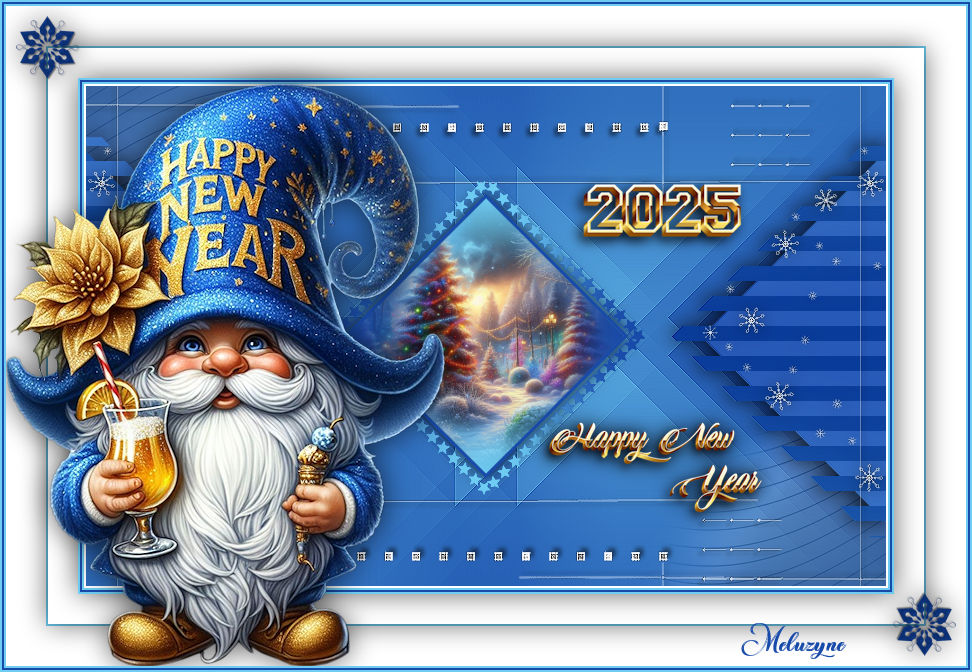
Thank you Meluzyne
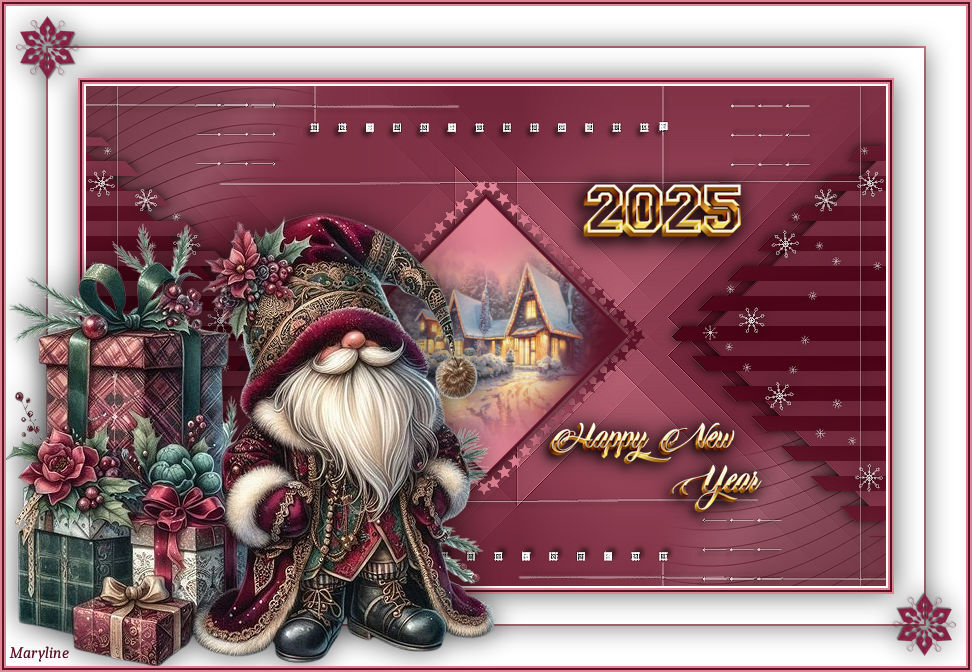
Thank you Maryline
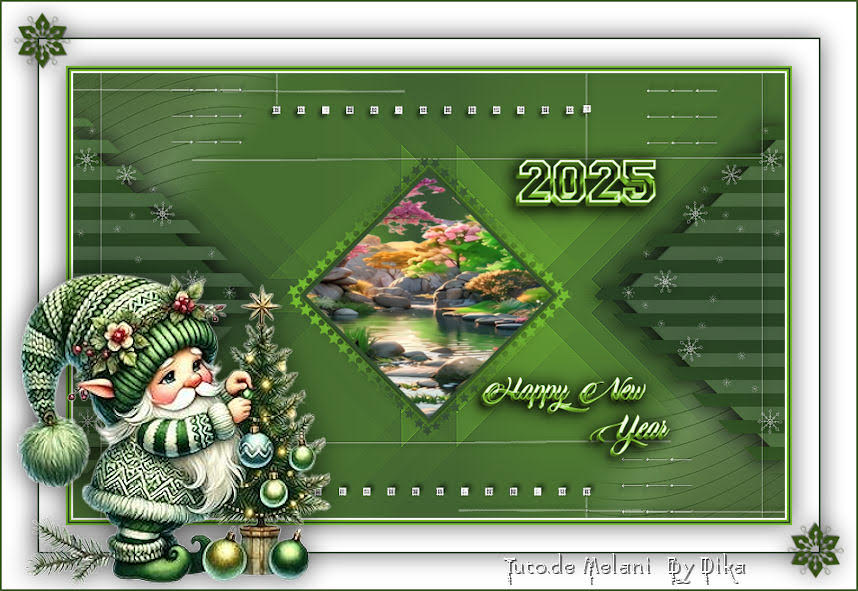
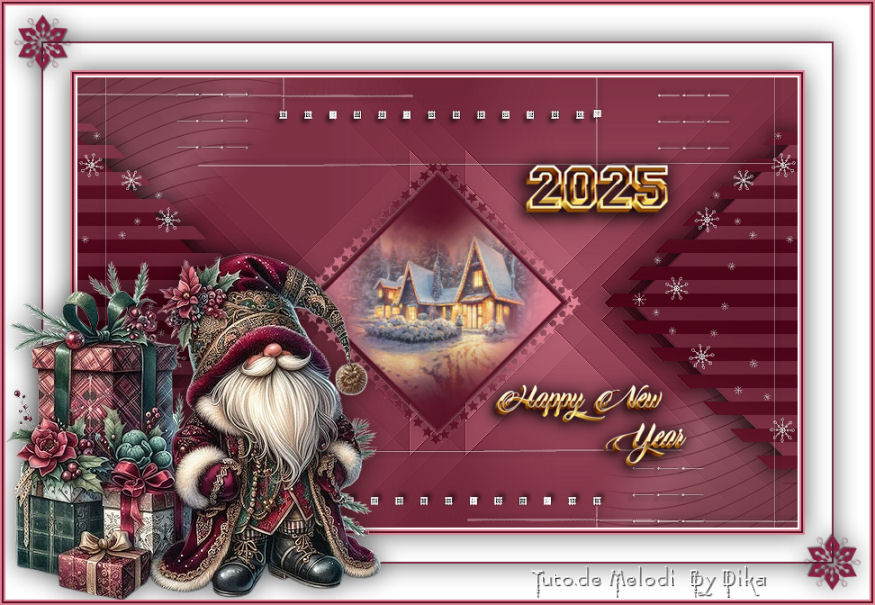
Thank you Dika
Thank you Vampires
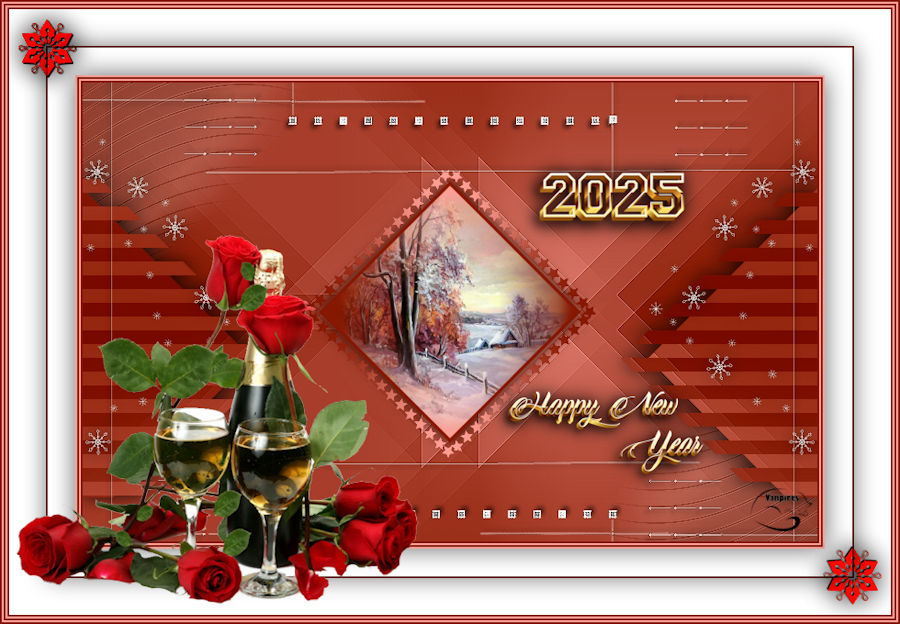
Thank you Felinec31

Thank you Ildıko
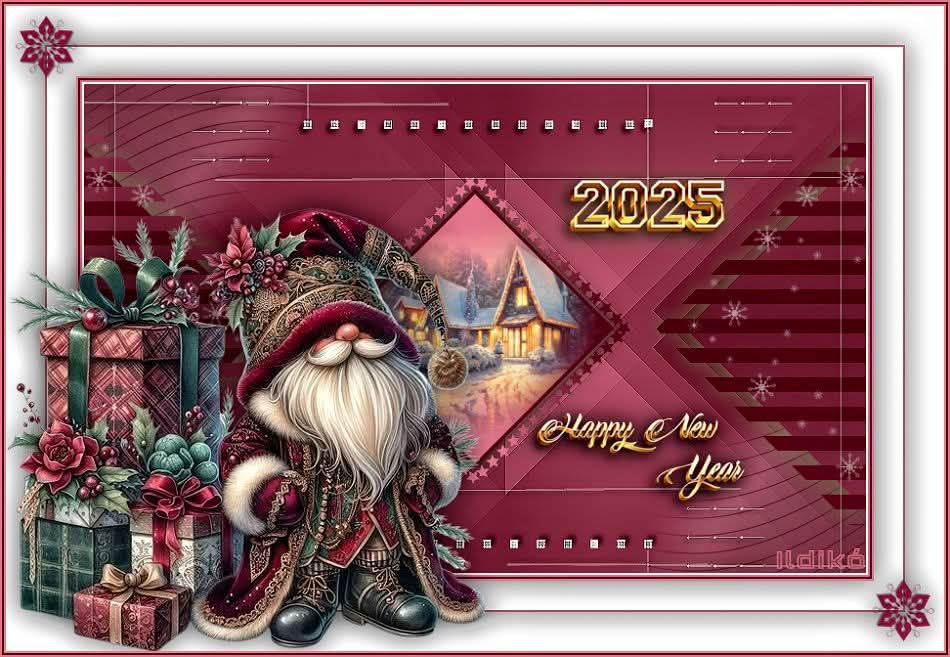
Thank you Frankie
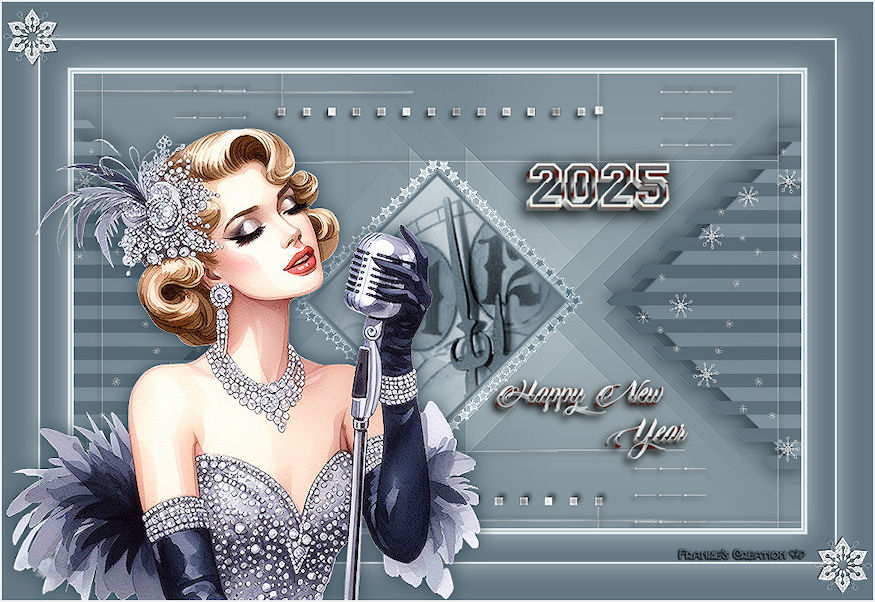
Thank you Talonaiguille
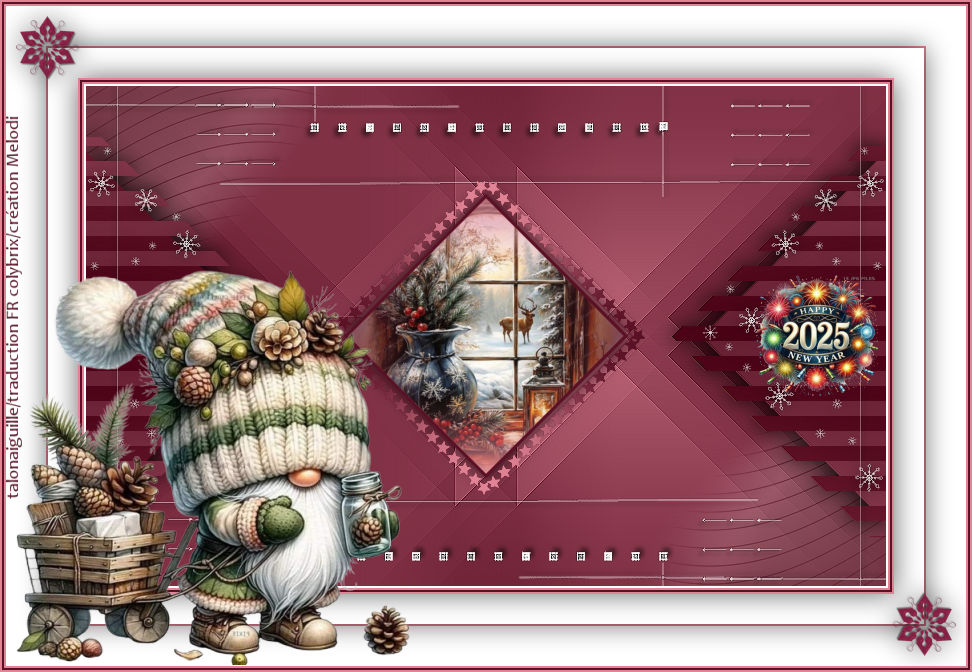
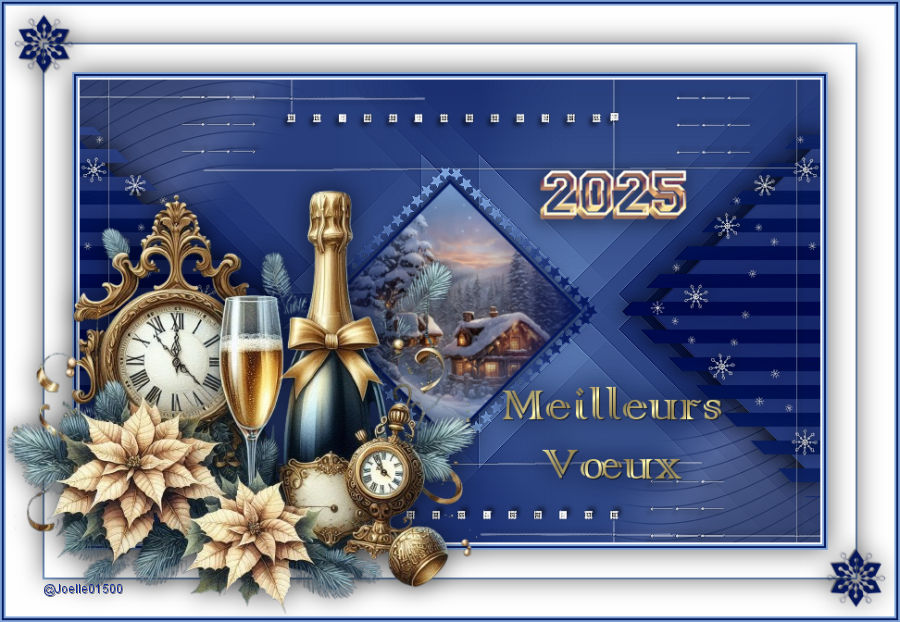
Thank you Joëlle 01500
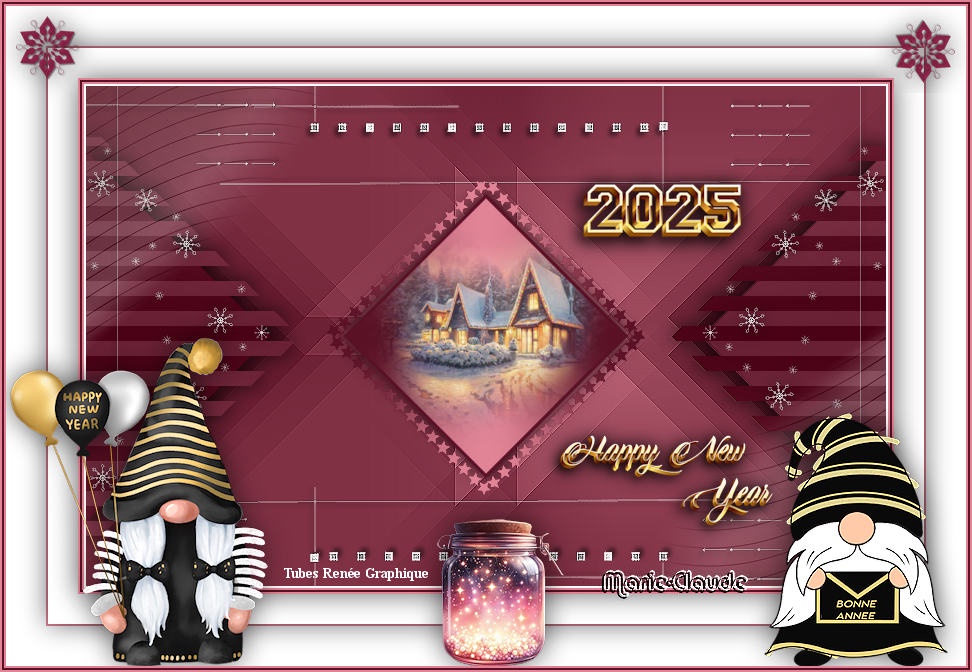
Thank you Marie-Claude
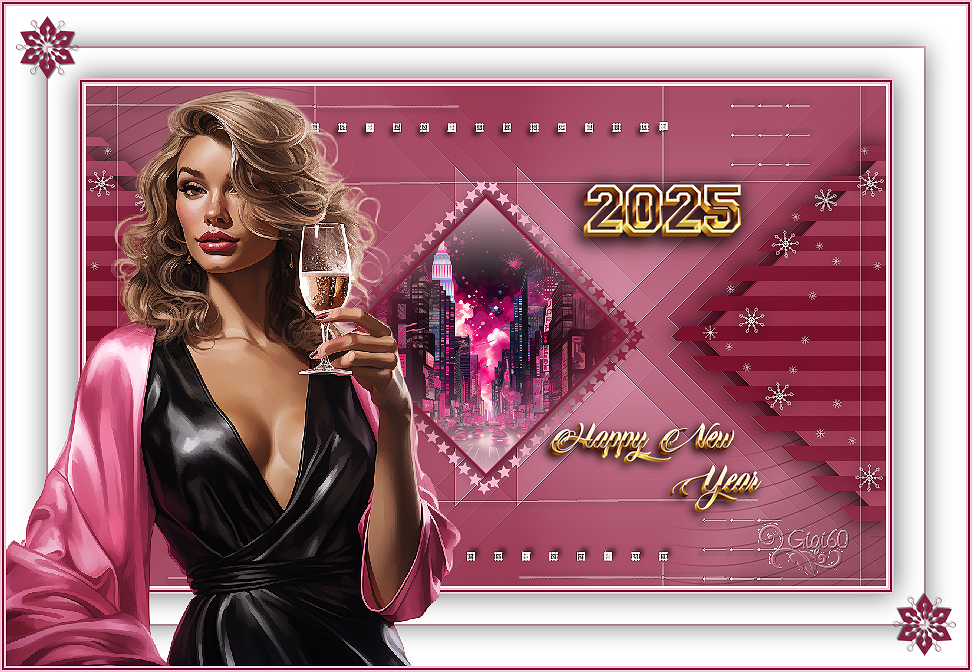
Thank you Gigi
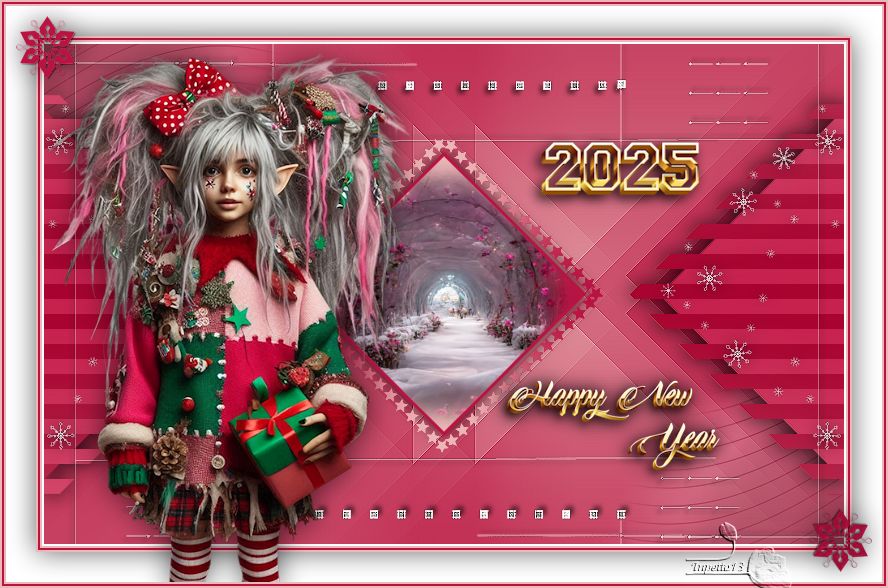
Thank you Impetto13
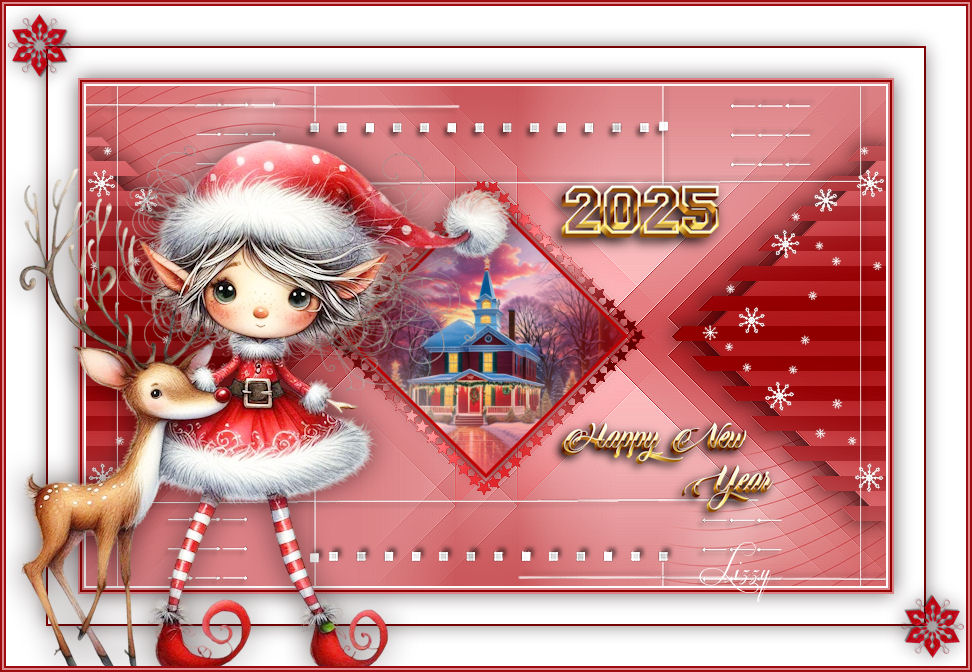
Thank you Lizzy
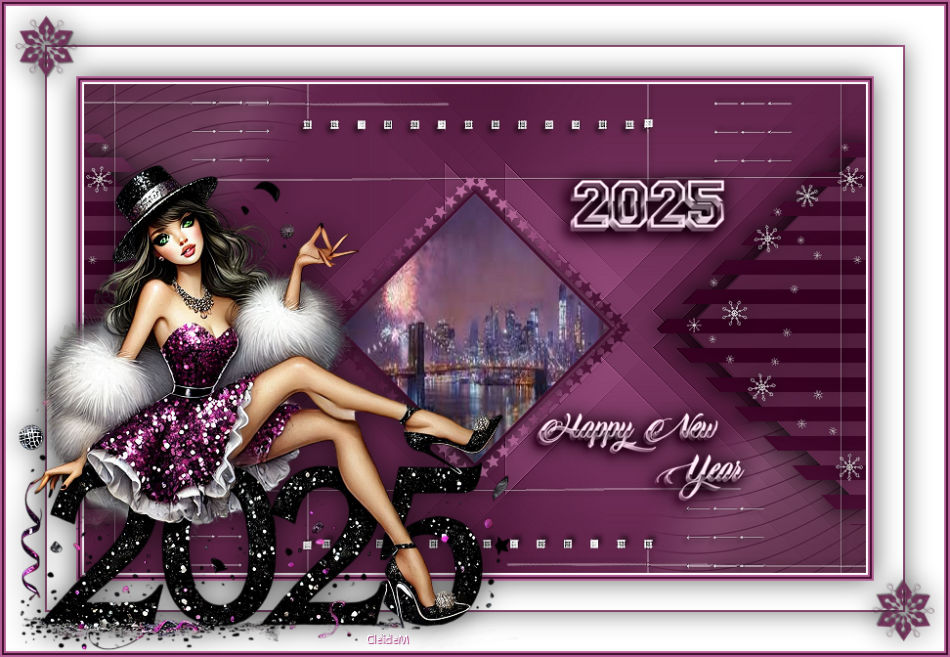
Thank you CleideM
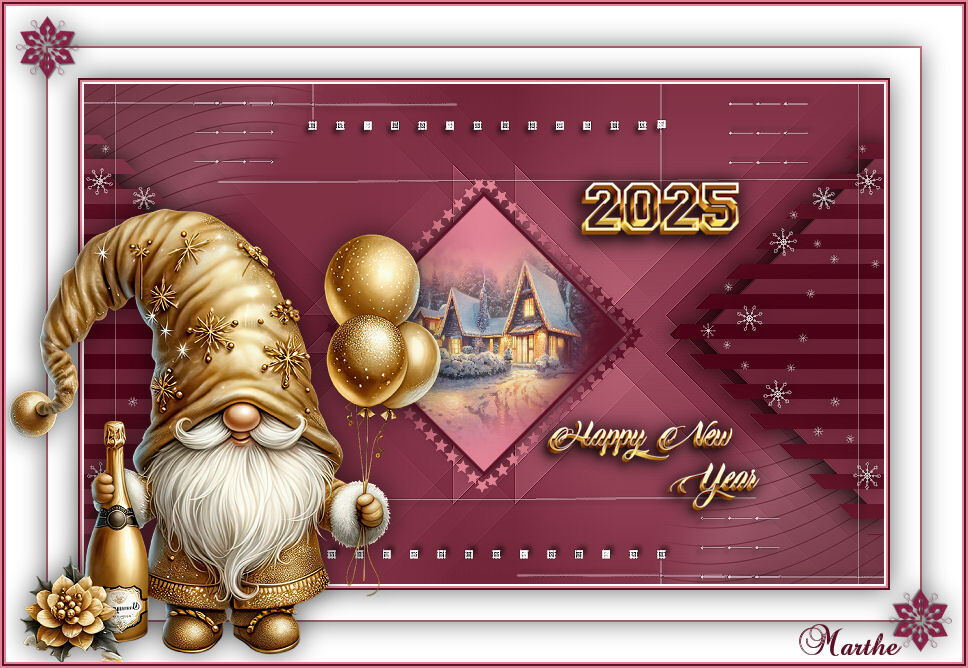
Thank you Marthe
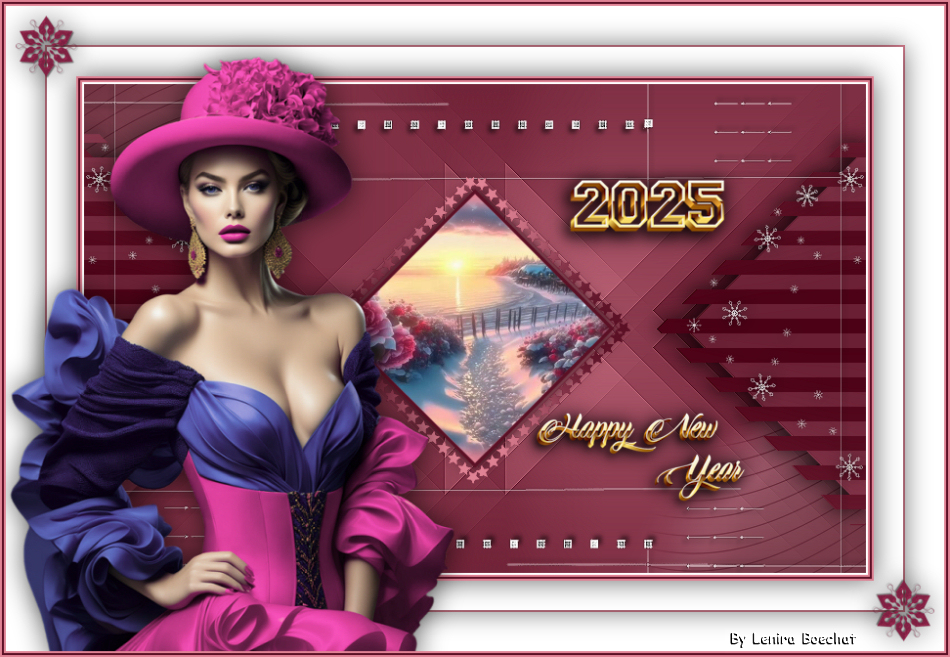
Thank you Lenira Boecher
Thank you Shawnee
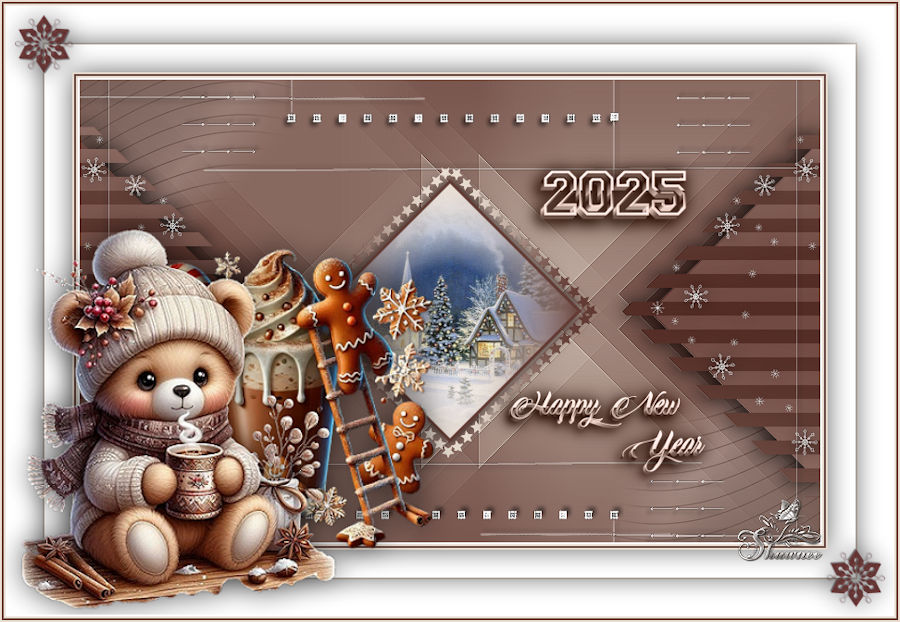
Thank you Denzeline
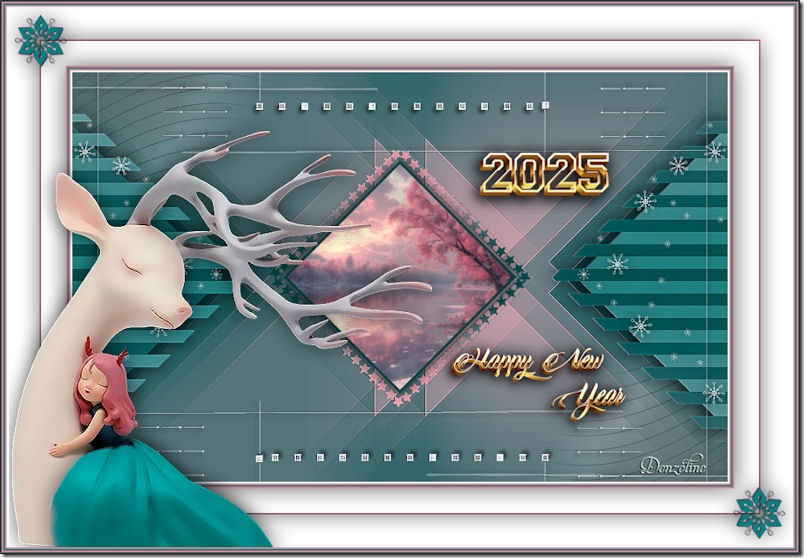
Thank you Mimi
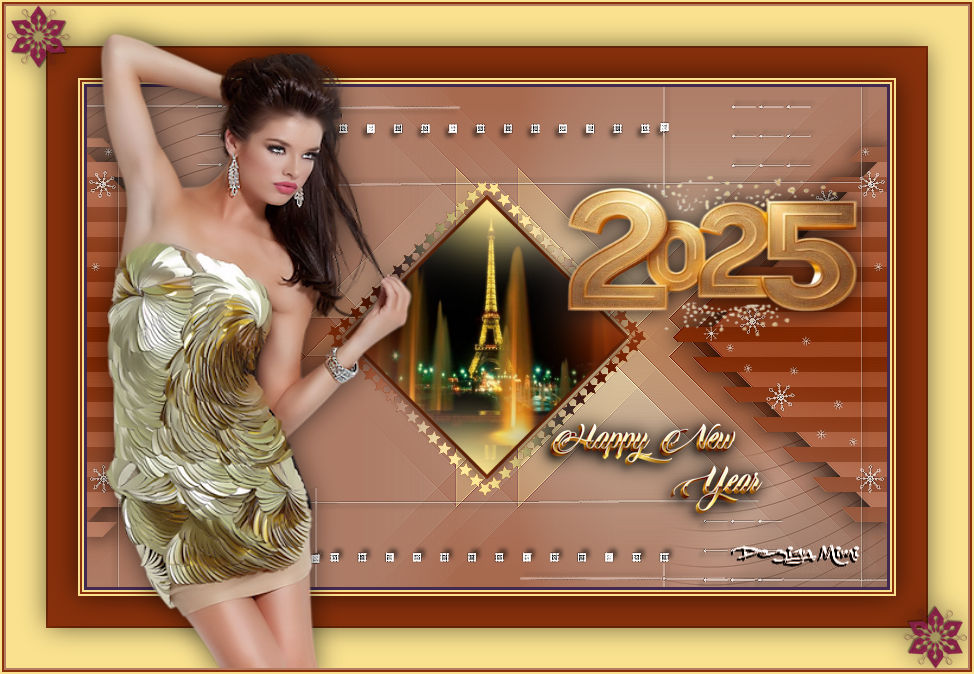
Thank you Ildiko
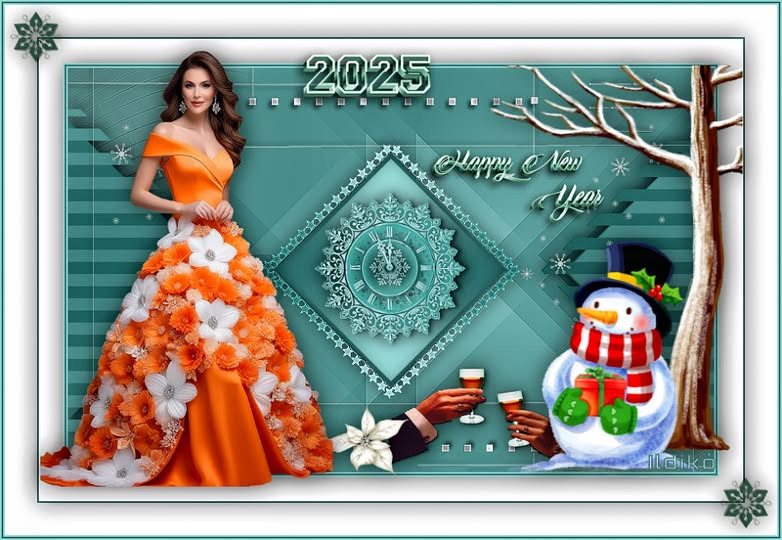
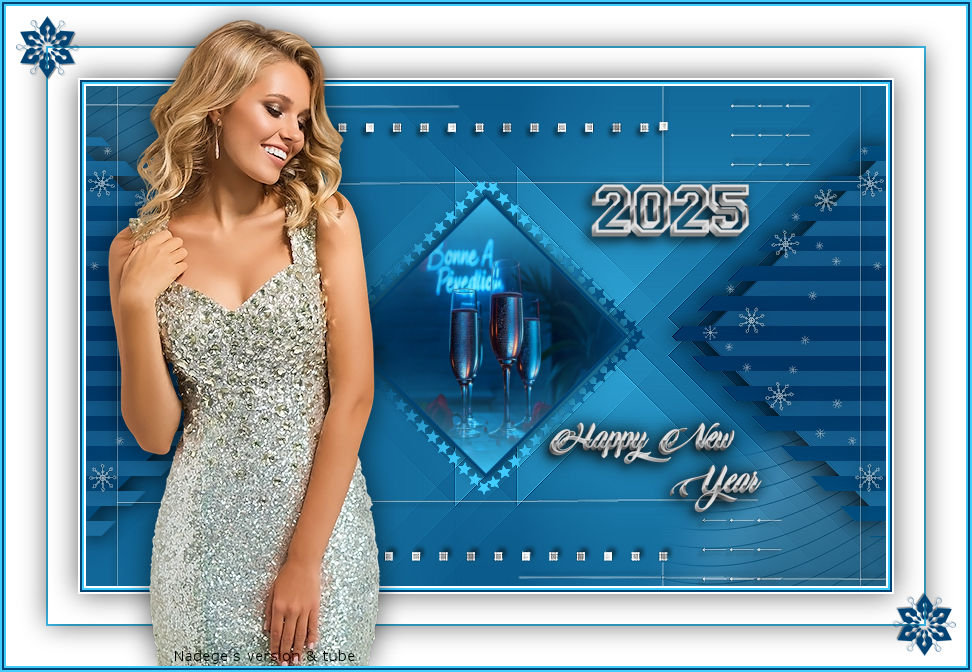
Thank you Nadège
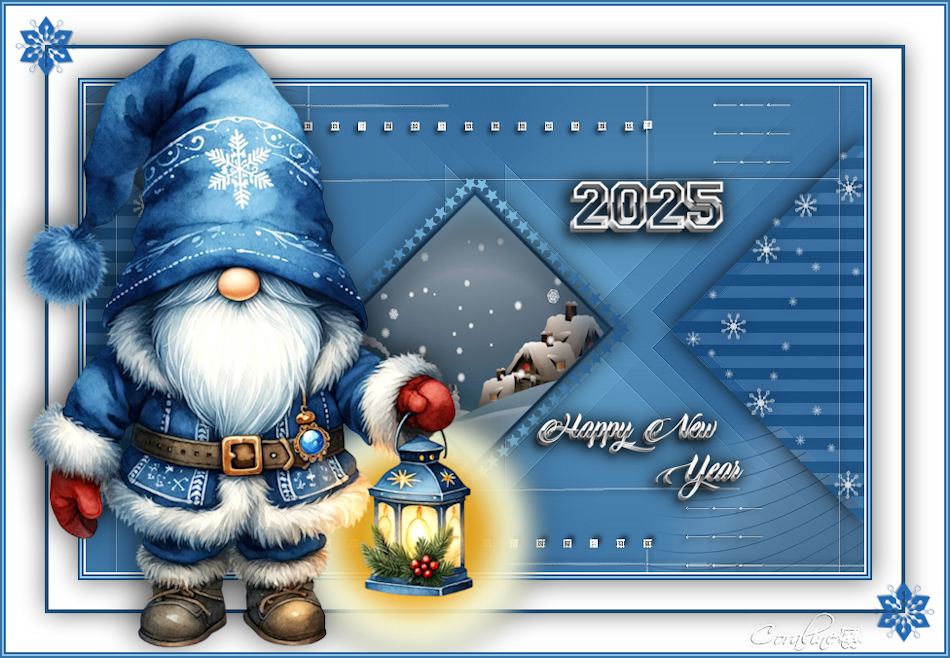
Thank you Coraline
Thank you Sweety
